I spent weeks preparing for my ten day trip in the Philippines, searching for the best destinations, researched flight prices, and tried to figure out how to get around.
But despite all my research, I was pretty clueless — got lost in the countryside, and cheated of money.
Don’t get me wrong though, I had a complete blast and would do it all again, perhaps with better knowledge.
I don’t want anyone else to have to learn the hard way, so I came up with a list of things you should know before travelling to the Philippines.
Click on the links below to jump to a relevant section:
Before takeoff
Staying connected in the Philippines
Getting around the Philippines
How safe is the Philippines?
Before takeoff
1) Save money by exchanging currency at Lucky Plaza.
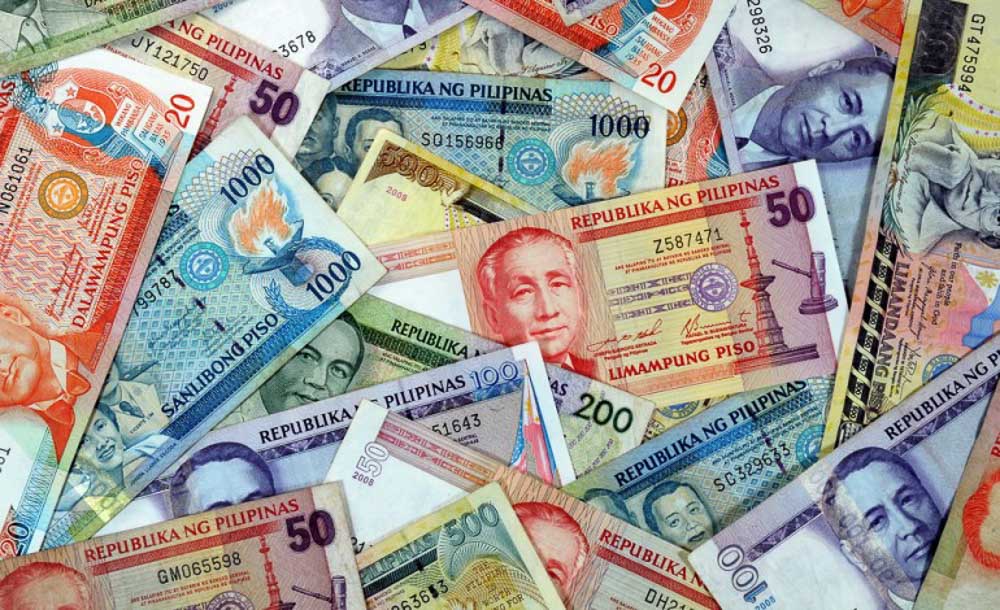
If you live in Singapore, consider heading to Lucky Plaza to change your money into Philippine Pesos.
I changed 700SGD for my ten day trip. At Lucky Plaza, 700SGD would yield me 24,220PHP. If I changed my money at the neighbourhood mall I visited, I would have gotten 22,400PHP instead, which equates to roughly 52.60-56.88SGD!
One thing to note is that there are numerous money changers in Lucky Plaza. I counted four of them on the first floor itself, and there are many more around which I didn’t cover.
*Pro-tip: Rates can also differ at different changers in Lucky plaza. Compare the rates between a few shops before purchasing the currency.
2) Book a discounted tour through your accommodation.
Rather than booking a tour online, or purchasing a tour directly from a tour agency when you have landed, consider booking a tour through your accommodation instead.
Many accommodations are able to give competitive discounts because they have in-house tour agencies or partnerships with external tour agencies.
To take advantage of the discount, all you have to do is make a tour booking at the front desk of your accommodation at least one day in advance.
Just be sure to drop your hotel or hostel a quick email or Facebook message to check if your they arrange for tours.
3) Account for travel time in your itinerary.
The Philippines is a huge country comprising of over 7000 islands, and there are many awesome attractions to see spread around all 300 kilometre squares of it.
So if you plan on travelling around the Philippines during your trip, know that you might have to set aside a large part of your day just to get there.
Internal flights take up 3-5 hours, including customs whereas a road trip is usually 2-6 hours long.
Bring a good book or something to keep you occupied during long trips. I brought my tablet so that I could read books and play games. It was a great item to bring on long bus rides, especially when the bus provided free WiFi.
4) Pack sunblock and a face towel, the Philippines can be incredibly hot and humid
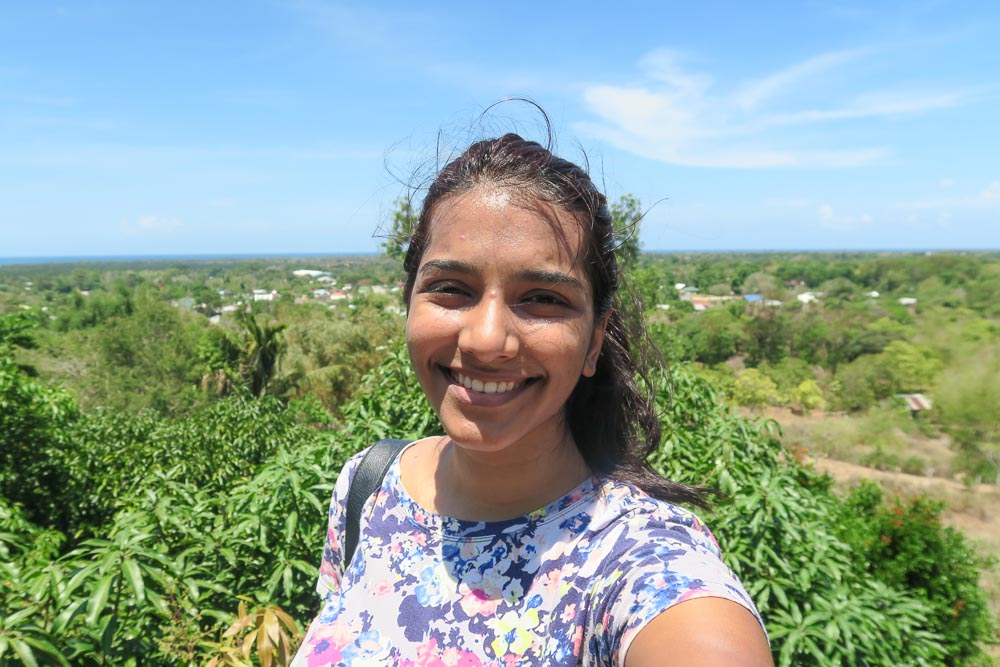
Unless you’re travelling to the colder regions of the Philippines, such as Baguio City and Tagaytay, you’re going to have to brace yourself for the immense heat.
I’m usually the kind of person to dismiss sunblock and face towels in favour of travelling lighter. However, after traversing the Philippine country side in the summer, I believe that sunblock and face towels are absolutely essential.
After all, it’s harder to take good selfies when you’re fifty shades darker and dripping with sweat.
*Pro-tip: Weather between cities can differ greatly so be sure to google for the weather forecast before leaving for another city.
Staying connected in the Philippines
5) Tap onto free WiFi
WiFi is abundant in the city areas in Philippines. Other than the WiFi your accommodation provides, you can also find free (but secured) WiFi in coffee shops, restaurants, and cafes. If you’re taking inter-city buses, some come with WiFi too – just ask the bus attendant if they have WiFi before boarding.
However, if the country side is a part of your itinerary, chances are you will have a very difficult time finding WiFi, even in the restaurants.
The Philippine government intents to roll out free WiFi nationwide by the end of 2016. However, the free WiFi covers only airports, parks, hospitals and public schools.
6) Download offline maps on Google Maps
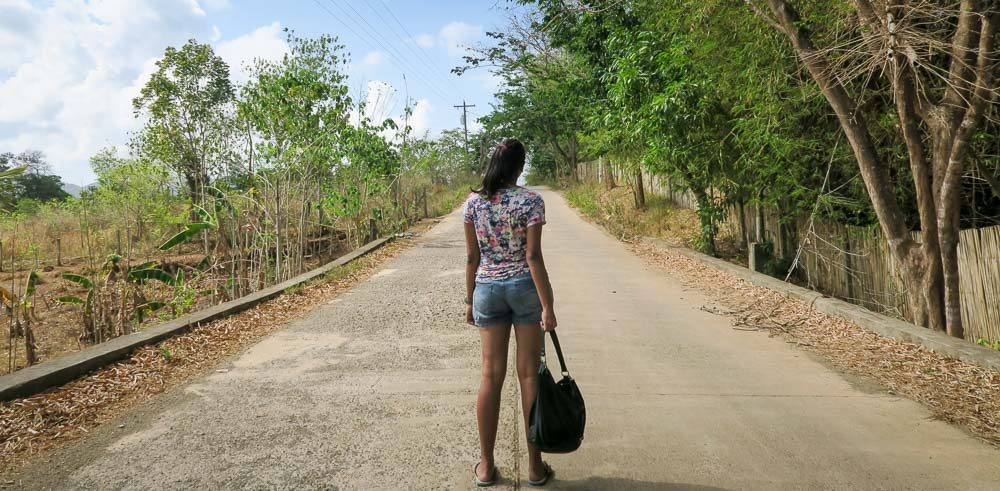
For the times you are stranded in the countryside without WiFi or GPS, offline maps in Google Maps are a lifesaver. These maps still function as normal and let you search for directions when you don’t have an internet connection.
If I had downloaded an offline map sooner, I might not have gotten lost as much in the Philippines.
Check out this page for instructions on how to download a map for offline use.
7) Purchase a data SIM card
The airport is the most convenient place to purchase a SIM card, but it is also a far more expensive option – 600PHP ($17.30 SGD) per day.
Thankfully, it is far cheaper practically everywhere else. I purchased my data SIM card from a mall near my accommodation, and paid only 50PHP ($1.40 SGD) a day.
In particular, I used the SurfMax prepaid plan from the operator Smart. The data caps at 800MB a day, but I used only 300MB a day at most.
To get your own data SIM card, ask the concierge of your accommodation if there are any nearby shopping centres or stalls where you can purchase one.
Getting around the Philippines
There are so many different ways to get around the Philippines, but here are a few efficient and fun ways to get around the country.
8) Know what kind of transport to take, and when
Motorcycle rental
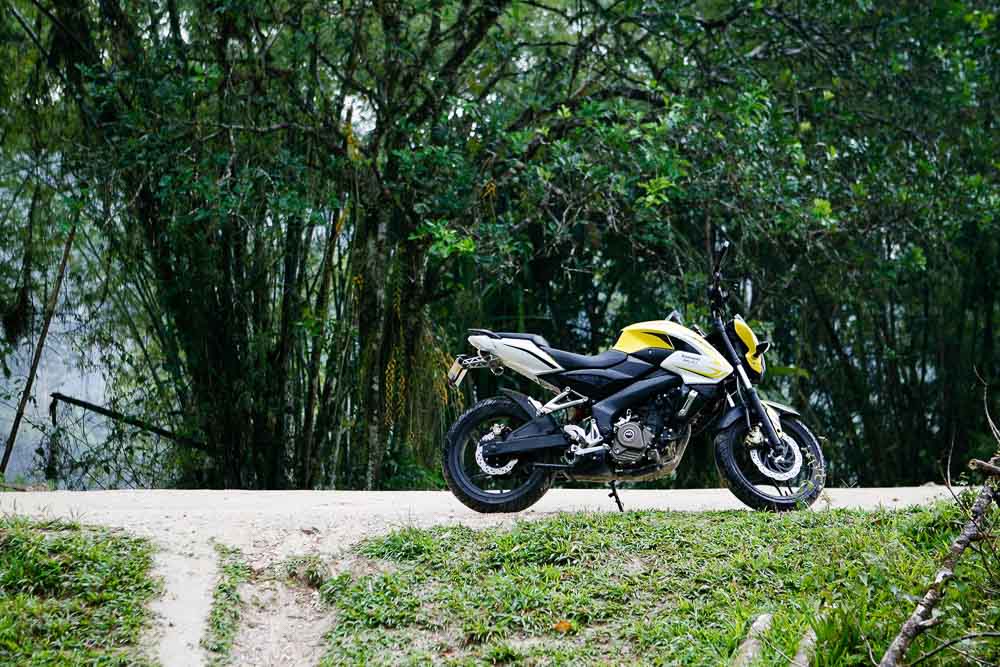
Motorcycles can be rented at 250-600PHP, depending on your haggling skills.
Pros: More exciting, especially if you’re driving the motorcycle yourself. You can also ask for a motorcycle tour, in which a local will drive you around to several attractions.
Cons: It can be dangerous if you encounter bumpy roads and reckless motorists.
How to rent a motorcycle: Not many motorbike rental companies have websites, so it’s best if you ask a friendly local or your accommodation’s front desk after you check in. But don’t worry – if you’re headed to a tourist spot, you’re bound to find one.
Tricycle
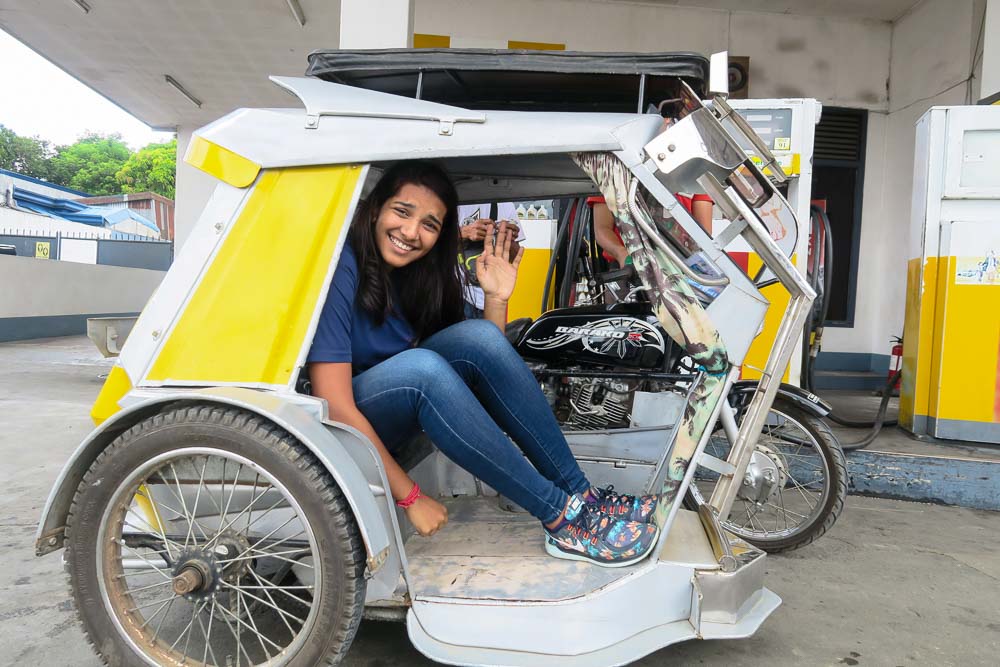
Tricycles are a great, cheap form of transport though they are on the small side. They can hold up to four people.
Pros:
– Incredibly cheap, at approximately 10PHP ($0.30SGD) for a 5 minute ride.
– A fun way to get around and see the sights of Philippines.
Cons:
– Very small and cramped.
– Bad for long distances.
How to get a tricycle:
– Tricycles can be flagged from the main road.
– Tricycle drivers also wait for passengers outside tourist spots and hotels.
Jeepney
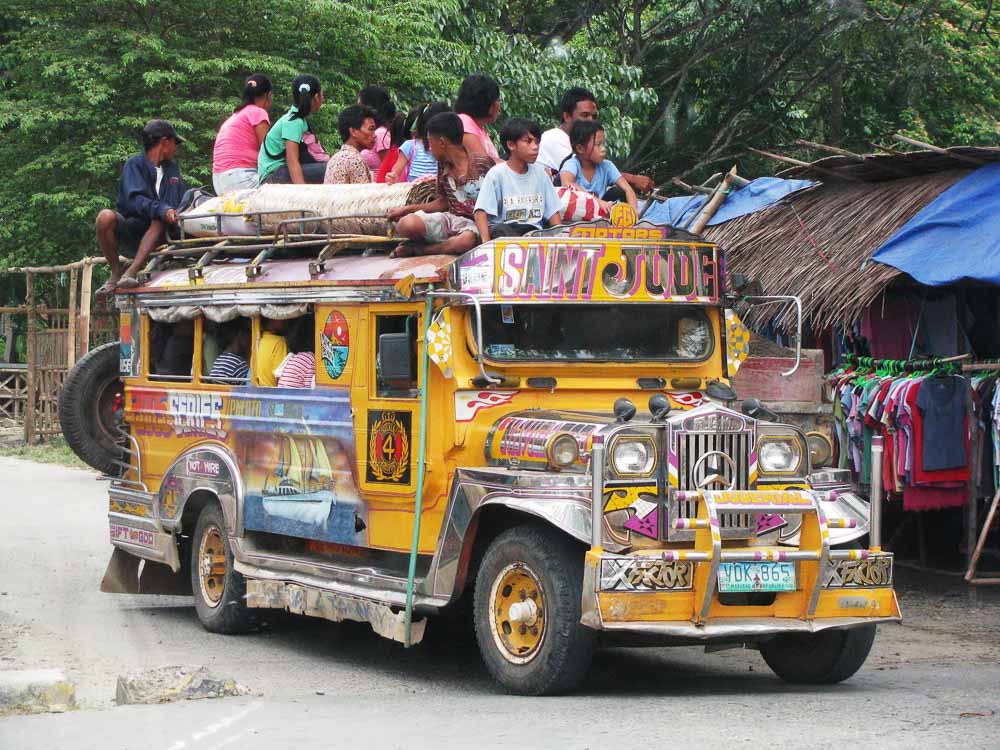
Jeepneys are the most popular and cost effective form of transport in the Philippines. They each have their own set routes.
Pros:
– Even cheaper than a tricycle, as the cost is split among many people.
– Good for longer journeys.
Cons:
– Can get incredibly crowded.
– Can be hard for foreigners to find the right jeepney that is headed where they want to go.
How to get a jeepney:
– Flag a jeepney when you see it on the road and tell them your destination.
Bus
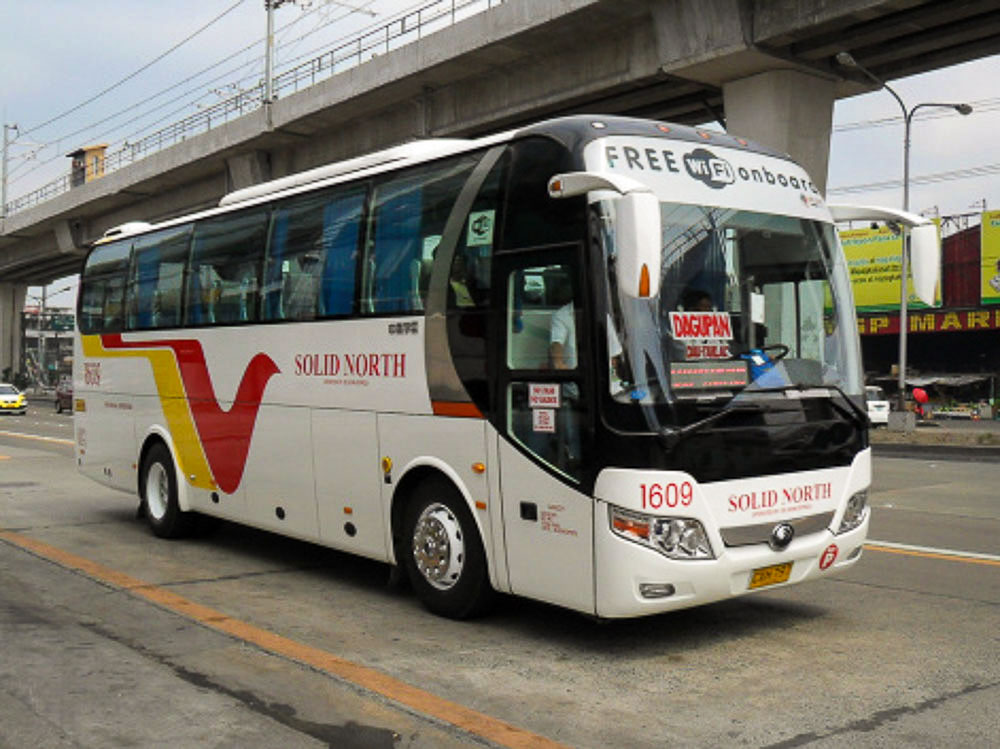
If you need to travel for a long distance, and don’t want to deal with a crowd, take a bus.
Pros:
– Air conditioned (usually).
– Some buses come with WiFi.
– Reasonably priced, and you are charged by distance.
Cons:
– Bus terminals can be confusing and chaotic with so many buses and no clear instruction as to which bus to take. I needed to ask someone for help before I found the right bus.
Uber and Grab (GrabTaxi)
When you’re in the city and need a fuss-free way to get to your destination, consider opting for a ride through Uber or Grab.
Pros:
– Cheaper than a regular taxi.
– Brings you directly to your destination, unlike buses.
Cons:
– Have to wait 10-15min for a ride in less popular areas
Internal flights
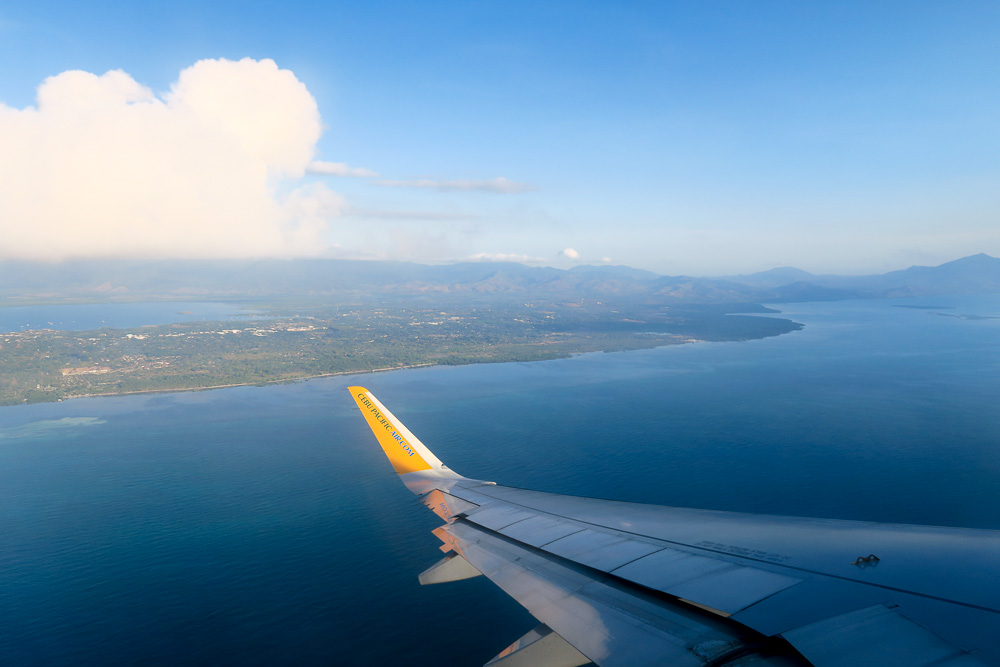
Internal flights are almost a necessity in a country as big as the Philippines. Flights to more popular destinations usually cost below $100 SGD.
Pros:
– Cuts down on travel time considerably. A a one hour flight can equate to a six hour bus ride.
Cons:
– Less mainstream regions of the Philippines are exorbitantly priced. For example, a round trip to Batanes from Manila can cost $600.
How safe is the Philippines?
9) Avoiding scams
Scams are common in every country, however each country usually has a handful of scams that are more rampant than others.
In the Philippines, the only scam I have encountered is being asked to pay the ‘tourist price’. Essentially, it is about being overcharged for products simply because you are a foreigner.
People have tried to overcharge me for tricycle rides, tour packages, and entry into attractions.
One way you can deal with this problem is to know how much the price is for locals and bargain accordingly.
Ask friendly locals or your front desk for the approximate price of something. You can also read local blogs such as Pinoy Adventurista to check for prices.
10) Being aware of terrorism
Like any other country, the Philippines has regions that are safe, and regions which pose a high risk to one’s security. The trick is knowing which places to avoid.
Though terrorism exists in the Philippines, the risk is high only when you visit the unsafe parts.
I personally visited the Philippines and left without having experienced any real danger. But more than that, I left the Philippines having witnessed amazing and breathtaking sights of nature.
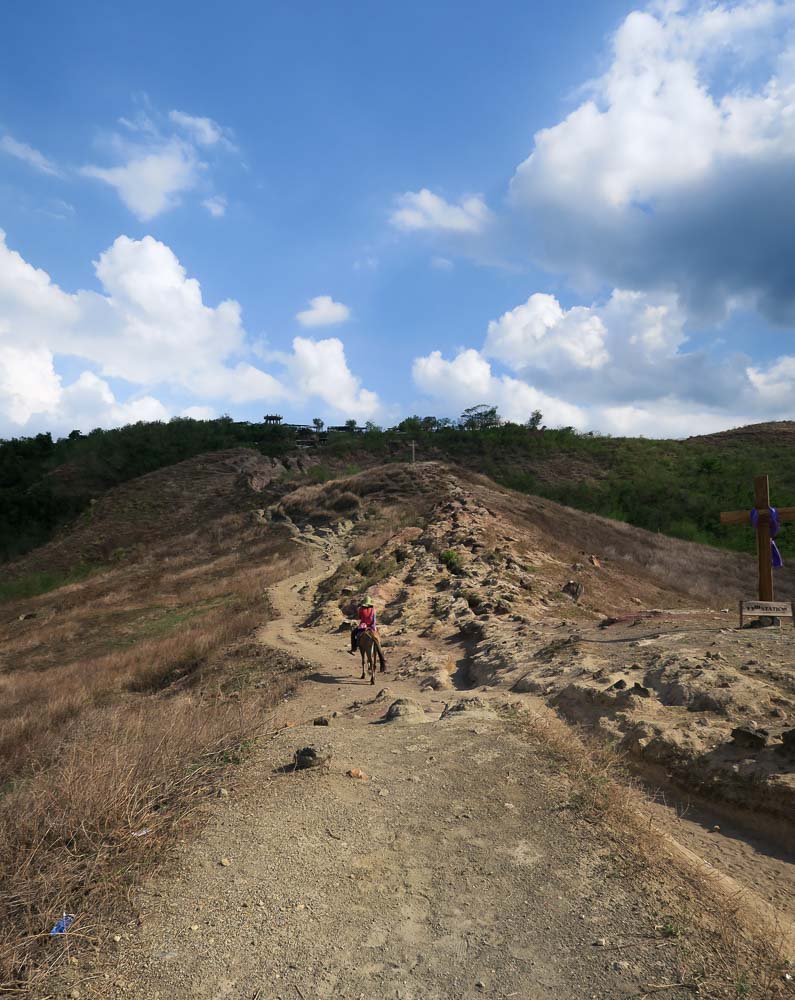
There are so many good memories I have from the Philippines. It excites me to go back, because I have explored only a fraction of it, and there are so many more things I have yet to discover for myself.
I hope you are now better prepared to travel the Philippines. Don’t be discouraged by the tourist traps because every country has its downsides. Instead, use the knowledge you now have to make your trip even better, so that you can enjoy all the adventure and beauty the Philippines has to offer.
Did you find this guide useful, or do you have any other tips to add? Let us know in the comments.
Note: All currencies have been converted using the rate of 1SGD to 34.60PHP, as per the currency rate in May 2016.









Very nice well written article about traveling in the Philippines. I am a local and I find this very useful!
<3
Hi Sara, what is the frequency of the buses from Cebu city to oslob and moalboal?