There are many ways to document your travels and share it with people. Many do it through photos and videos but a visual diary is my favourite choice! I first started my visual diary during my school exchange to document my 5 months away from home and have been visual journaling ever since!
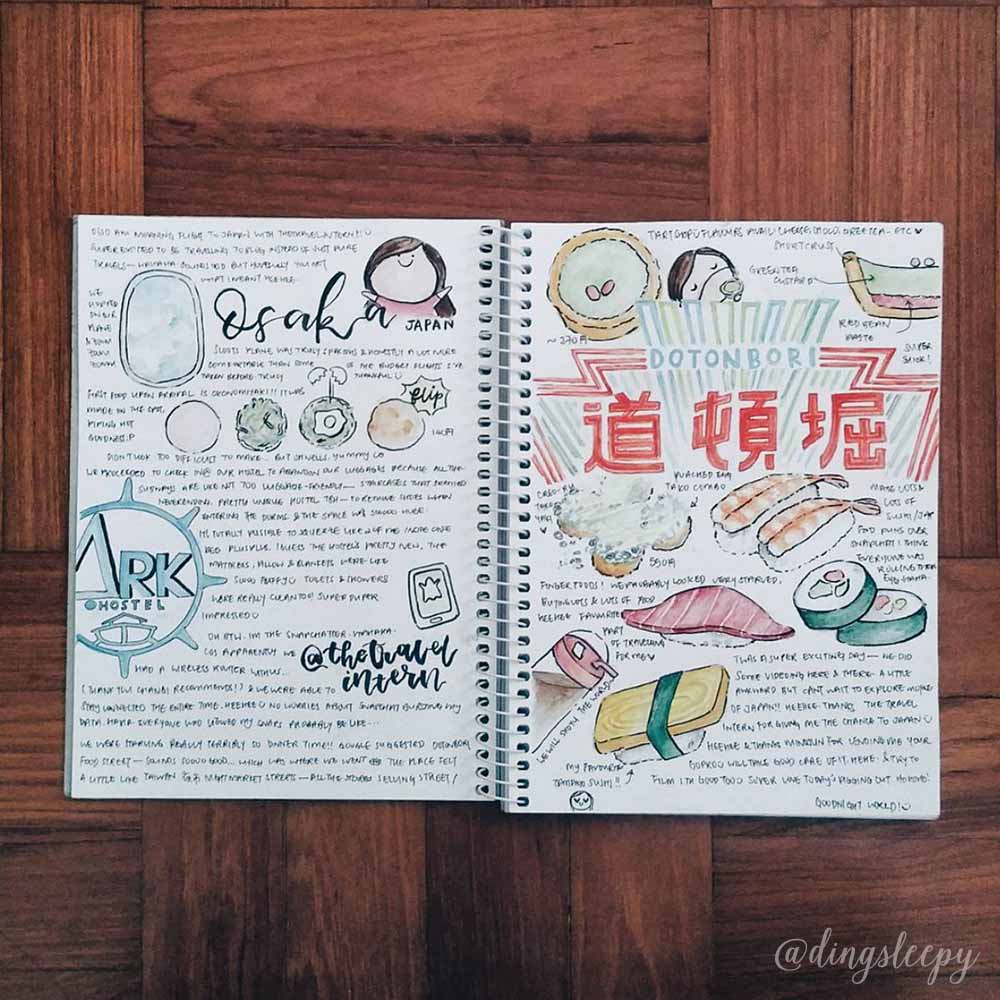
Have you seen my recent Travel Visual Diary: 7 days in Osaka, Kyoto and Nara?
However through these shares, I realise many people misunderstand that they need to be artistically inclined to start a visual diary. It’s such a waste because there’s so much joy and fulfilment creating memories from scratch.
Here I break it down into a step-by-step guide so you can get started too!
Find something you love and want to draw
Food, places, people, things.. the possibilities are endless. I personally love food – seeing them just makes me so happy, which explains why my visual journal is always flooded with food!
Yes, the hunger is real.
Anything vivid has to be big. I mean, it’s vivid because it is probably the most memorable thing/place/incident right? So don’t hesitate to let it occupy a huge space, it’s a good way to decide on a focal image. A focal image is the very first thing you want someone to look at when they come across your visual diary.
Use a pencil and draw a rough sketch of the objects anywhere on the page. There isn’t really a best practice to this, since it’s supposed to be a visual diary. I usually pack my objects to a corner first and slowly occupy the rest of the space; starting from anywhere of the book is fine as well!
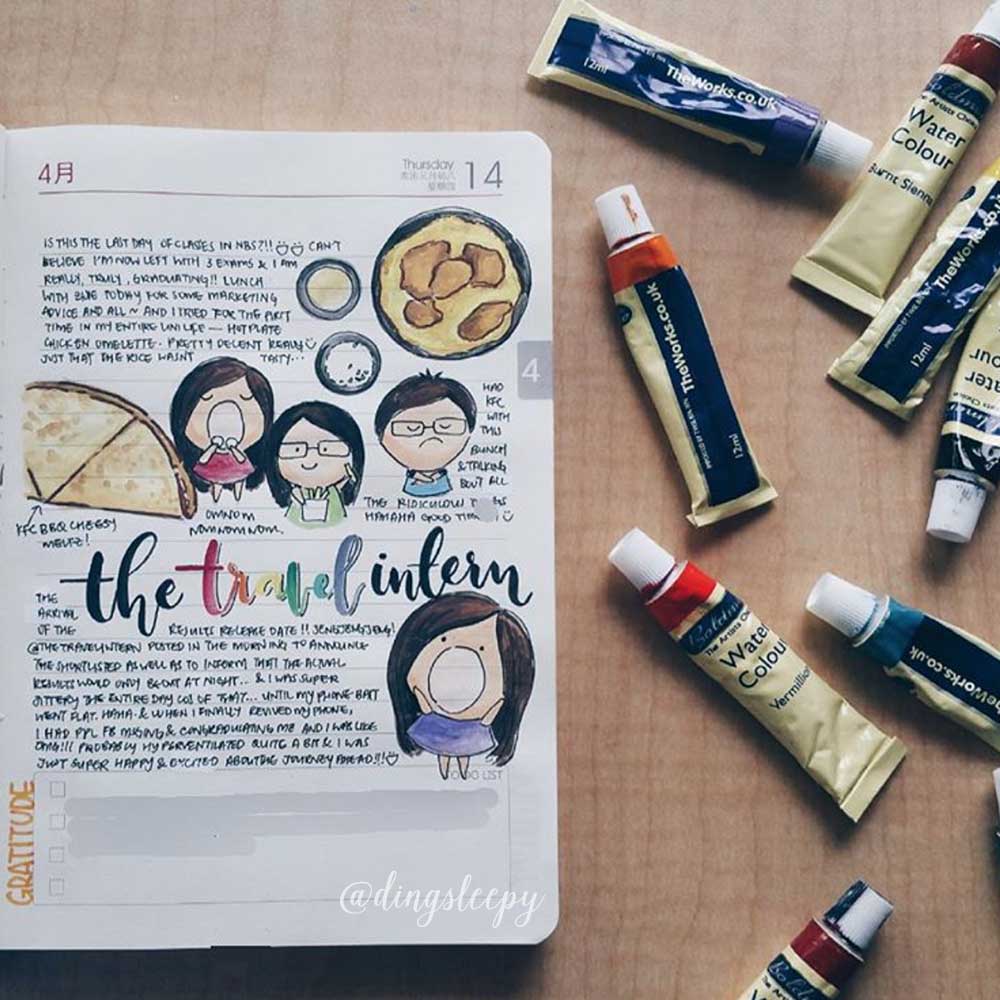
Introduce a character (if you want to)
Your very own character, should hopefully not be a duplicate of something you’ve seen online. This is YOUR character, not someone else dancing across your visual diary. It doesn’t have to be a human; let your creative juices flow! An animal, a food, a furniture… basically anything you’re comfortable with.
My characters are fishball headed humans that are really chubby, because life is too short to be anorexic. However, do note that the characters are really optional. I’ve seen many leave it out and their visual diaries are still gorgeous!
Filling in the rainbow
Time to practice all that colouring taught by your teachers in primary school! Filling the spaces up with colour can be as simple as single colours for each space, or shadows and highlights according to the lighting. Of course, the more complex colouring will take a much longer time.
There are different mediums that can be used, namely colour pencils, markers and paint. While each medium have their own pros and cons, I prefer watercolour paint – mainly because it takes less time to colour everything.
An extra touch
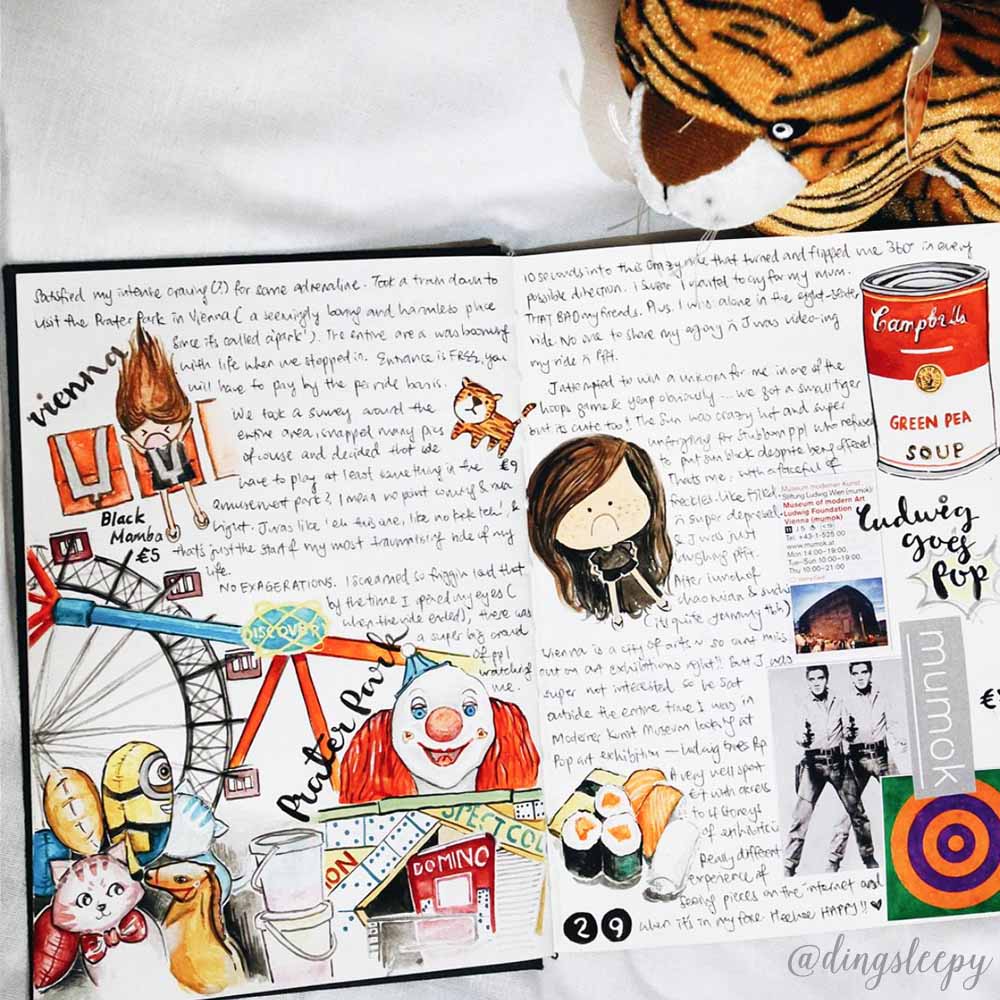
Feel free to add in your ticket stubs or random cutouts from brochures that is related to your day onto the page! They can be informative, and even act as amazing page fillers. I always do it when I’m out of inspirations, or even when I am feeling a tad lazy. Cheat code!
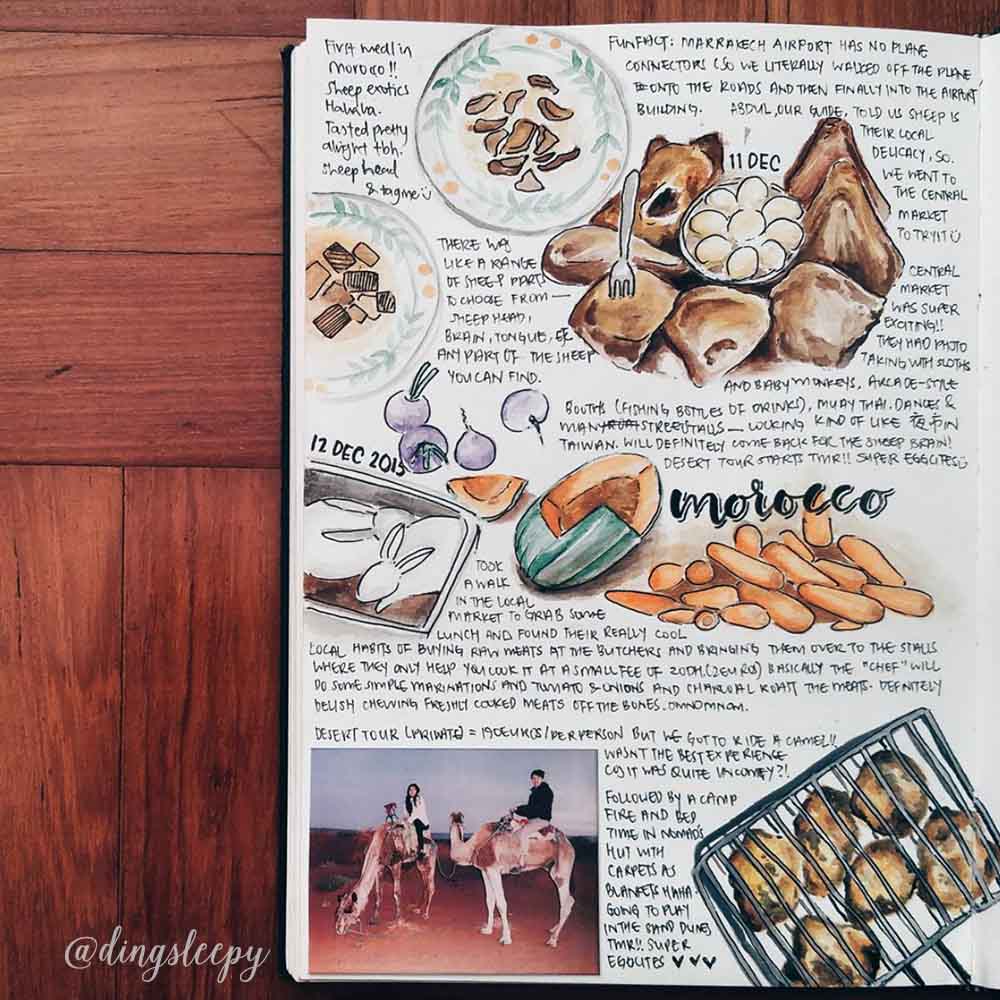
Photographs can be added as well, but I usually try to keep it small or minimal. After all, it’s a visual diary and not a scrapbook! Washi tapes are also rather popular when creating a visual diary (even though I am not a fan of them). They are readily available in stationary stores or even online at Amazon.
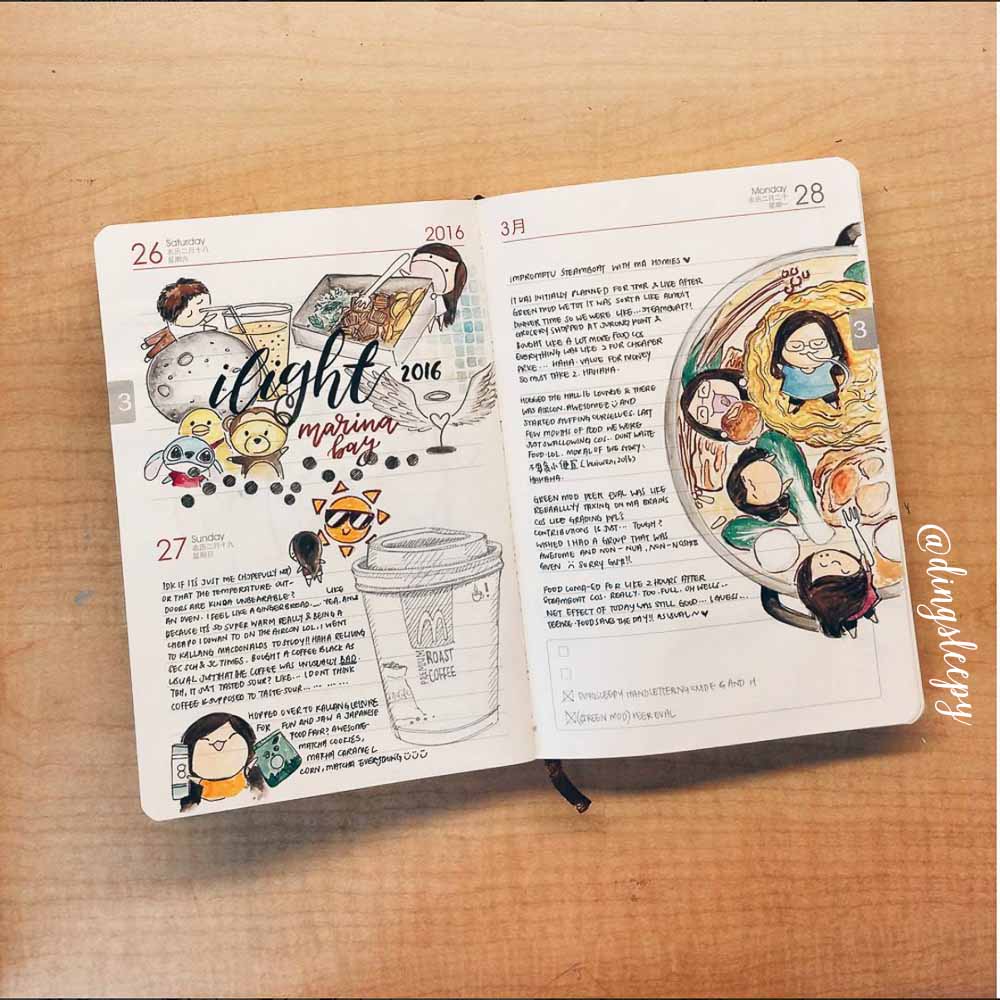
Although it would be awesome to fill up your page completely with drawings, adding words to describe your drawings can value-add the visual diary entry. Since it is not easy to be able to create illustrations that depict eventful happenings or a series of events, you can use words to describe your pictures or tell the remaining story. Snake your words and fill in all the remaining spaces to make the page look full~
You can even write down meaningful or significant conversations of the day or even hand letter significant words such as the location you’re at.
TADAA! Your very own page of visual diary!
Persevere through
Half the battle is won if you overcame the inertia to start your very first page! However, creating a complete travel visual diary does require some discipline. Diligently drawing and writing everyday can be rather time consuming, but practice makes perfect! I used to take 3-4 hours just trying to complete a page and have gotten a whole lot faster ever since.
Set aside an hour or two daily to get it done; or if you’re really tired from walking the entire day, take about 20 minutes to jot down significant things that happened. Taking millions of photographs on your smart phone will also help in recalling events as well as colouring.
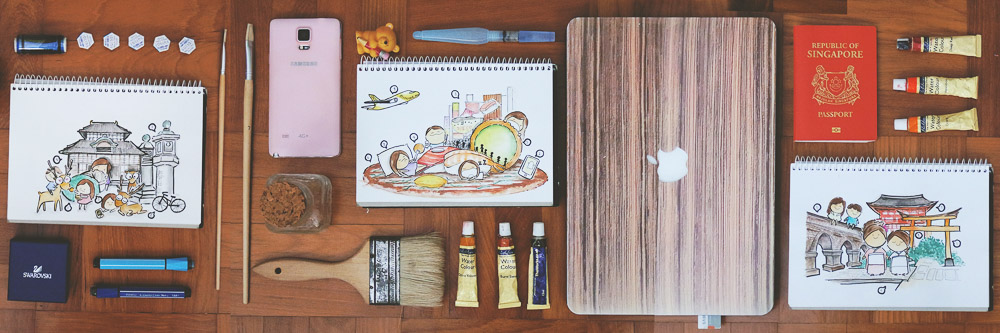
Materials to get started
There are a wide range of materials available, online and in physical stores. There is no one item that you MUST get because honestly, it can be anything really.
A popular choice would be planners or diaries, such as the hobonichi or midori planners. Just flip and write. If you don’t want to spend on getting yourself a new book or diary because you’re just trying it out, you can simply doodle on loose sheets of paper and keep them!
That being said, paper that is higher than 80 gsm would be preferred if you’re intending to use watercolours or markers. This reduces bleed throughs – remember how the ink seems to seep through and show up on the reverse side? Nobody likes to see those nasty ink blotches.
For watercolour users, a water brush would be the best if you journal on the go. It is basically a normal brush with a tube attached instead of the usual wooden handle. This tube is filled with water and you don’t need to have a washing cup anymore! Just your water brush and paints.
Colour pencils and markers are good mediums too because it’s really neat and portable (unlike paints which can get really messy at times).
Feeling motivated to start your own visual diary? Do comment and share your masterpieces with me on Instagram @dingsleepy!


HOW NICE IS THIS OMG
Thanks Jia Qin! Now you can create your own too! (: