This comprehensive Mount Fuji Guide details everything you need to know about climbing Mount Fuji, from pre-hike essentials to post-hike sights around Fuji-san.
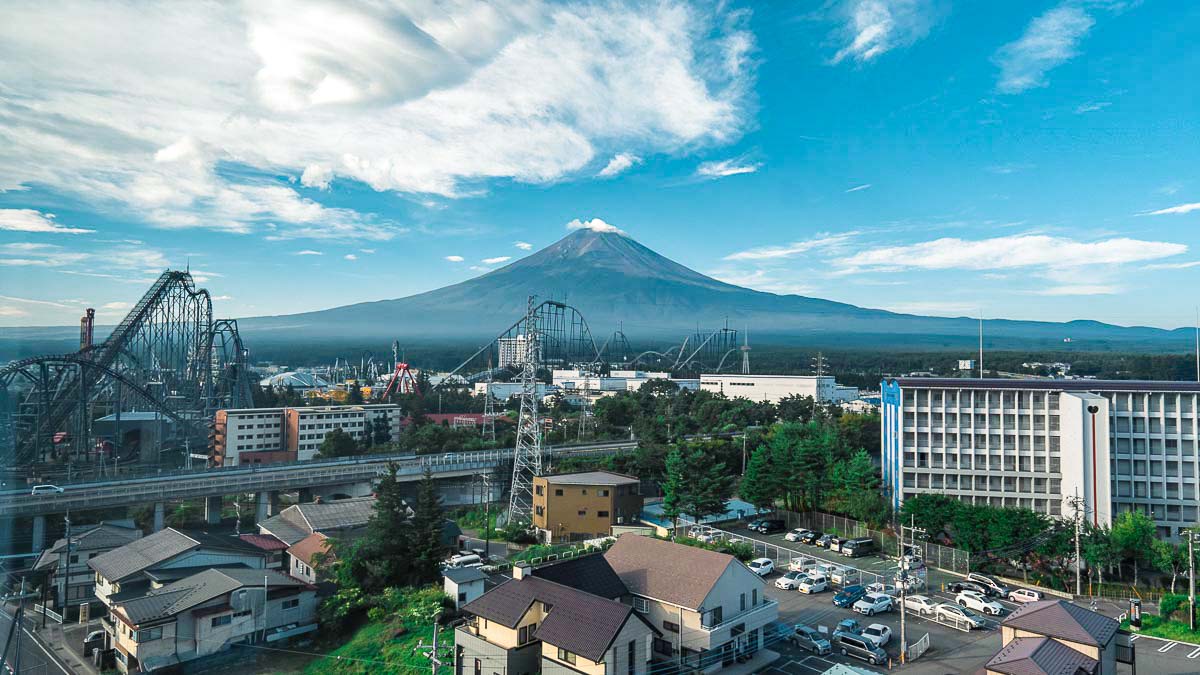
Mount Fuji is iconic enough to be worth a visit the next time you’re in Japan, whether you’re a rookie hiker or experienced climber. Surely, climbing Japan’s highest mountain at 3776m above sea level would be a different experience from viewing its majestic beauty from afar, or seeing it on countless souvenir knick-knacks and T-shirts, right?
Of course, hiking is daunting AF, especially for us who live in a concrete jungle. We’re here to show you that it can be done! If you’re well prepared, climbing Mount Fuji can be surprisingly straightforward and enjoyable from start to finish.
In this guide, we give you a breakdown on what to do before, during and after the hike so that you’re set to go in no time.
Before Climbing Mount Fuji
1) Assess your fitness level
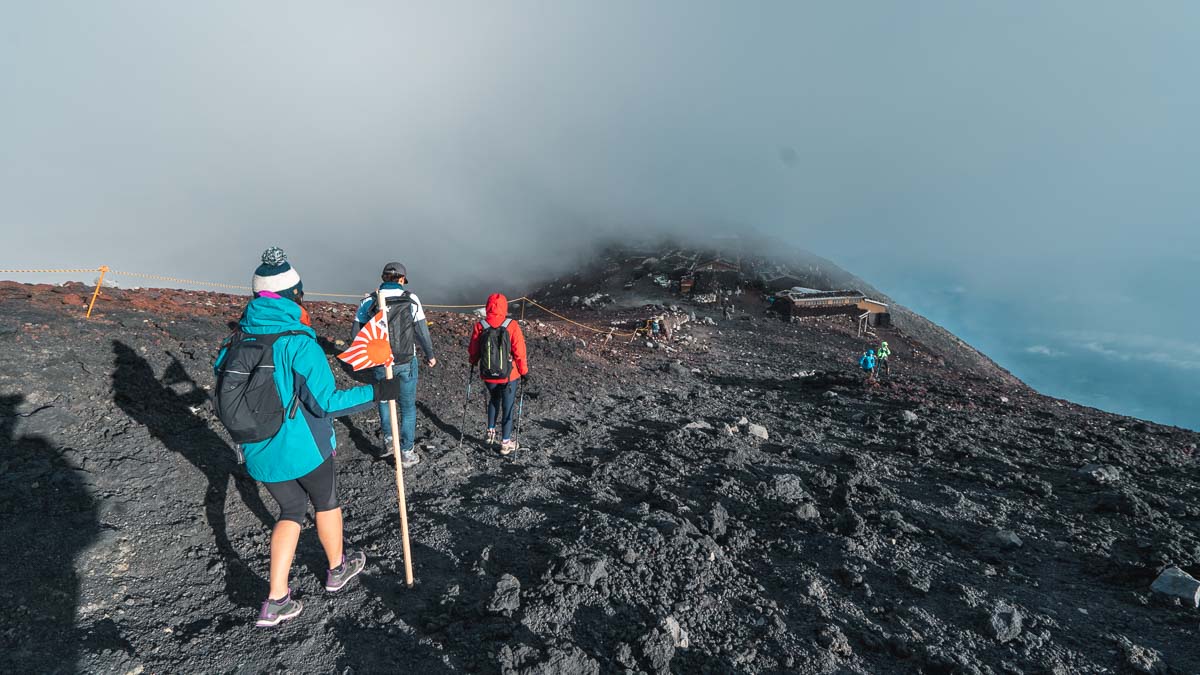
There are four routes you can take up Mount Fuji, but even the Yoshida Trail, — the most popular and manageable — takes about 5–7 hours to ascend, and 3–5 hours to descend.
The rocky terrain is rather steep for the most part up, and slippery on the way down, so you’d need at least an intermediate level of fitness to complete the hike. To people who find comfort in the sedentary lifestyle, get your cardio in! Go for jogs or take the stairs with your daily backpack to keep your general fitness in shape. Remember that this is an overnight climb with no option of a “halfway climb”, so this point is especially important!
To ready ourselves for the trip, the whole team met for a few mornings the week before D-day to climb the stairs of The Pinnacle at Duxton (50 floors) or nearby HDB blocks with loaded backpacks (x2 1.5L bottles) to simulate conditions during the actual hike. We also did some High Intensity Interval Training (HIIT) workouts to get our cardio levels and general strength up. Working out with your team is always more motivational and fun!
Do also note that hiking towards the 3776m mark means altitude sickness is possible in some hikers.
2) Book your accommodation near Mount Fuji
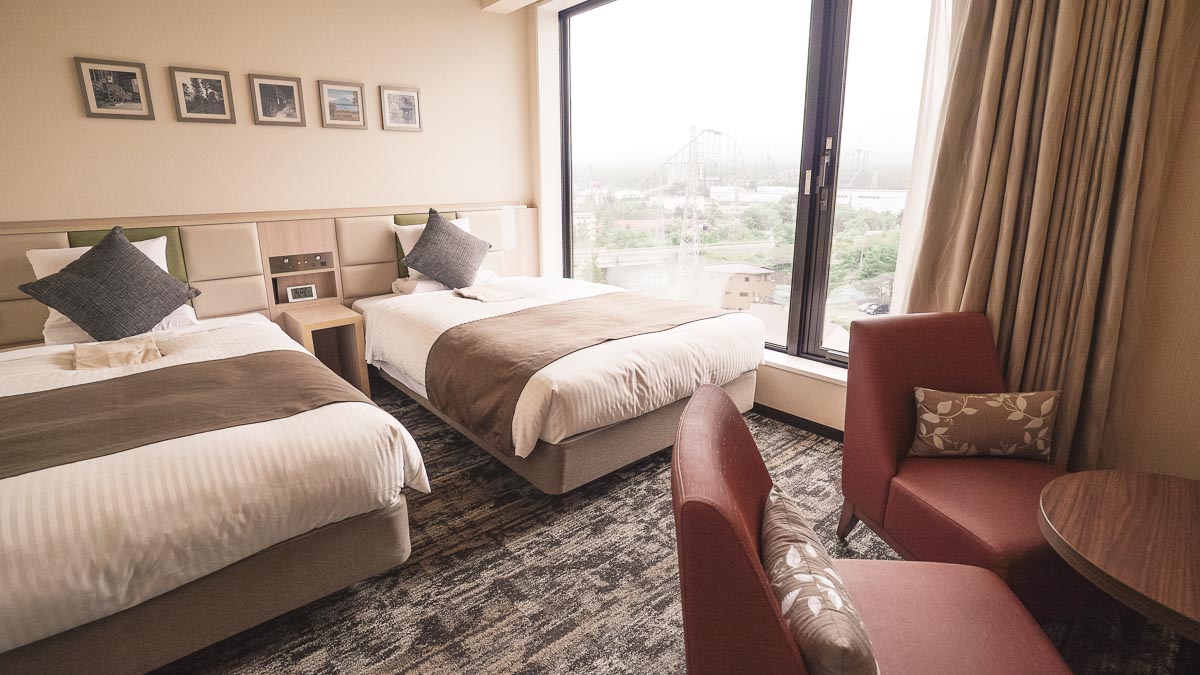
Arrive well-rested before the climb by treating yourself to a night at HOTEL MYSTAYS Fuji Onsen Resort. Not only is it nearer to the starting point, its onsen has the perfect view of Mount Fuji. Not to mention waking up to a wide buffet spread including items like the perfect Eggs Benedict. We loved it so much we booked another night post-climb to reward ourselves.
3) Pack for the climb
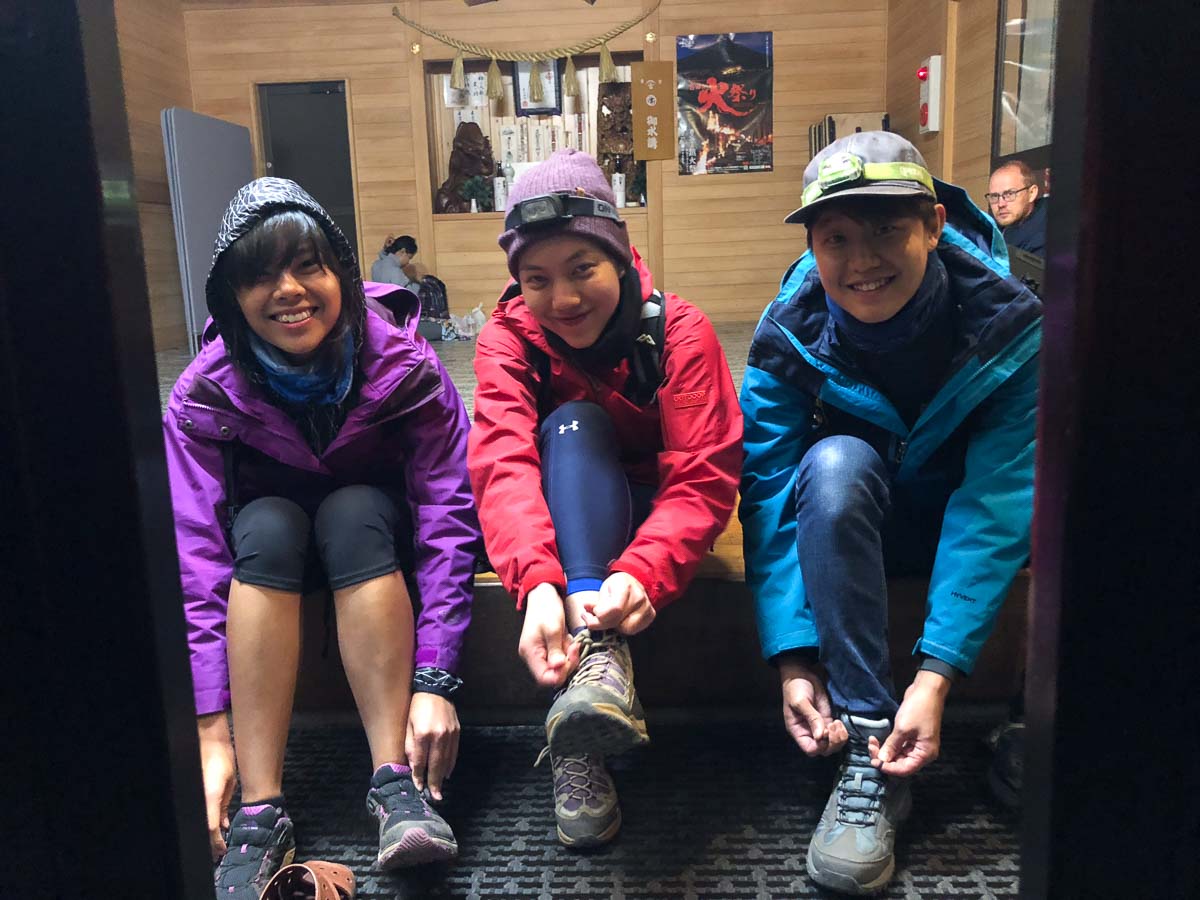
Clothing: The weather conditions on Mount Fuji can fluctuate drastically at different points of the hike so best to pack with layers in mind. When the chilly winds hit, you’ll want to keep your head and ears warm with a beanie, neck scarves and gloves really help too. Bring layers of Dri-Fit tops and thermal wear (Uniqlo’s Heattech is a good and affordable option), along with a waterproof windbreaker or Gore-Tex jacket to protect yourself from wind and rain.
In contrast, expect harsh sunshine on your descent, so don’t forget sunscreen! Long tights are also great for comfort and flexibility. Proper hiking shoes or boots for better grip is a must.
Gear: include a headlamp and hiking sticks (Hiking sticks aren’t just for old people, okay? Your knees will thank you)! You can also get shoe gaiters to prevent rocks from entering your shoe, especially on the descent.
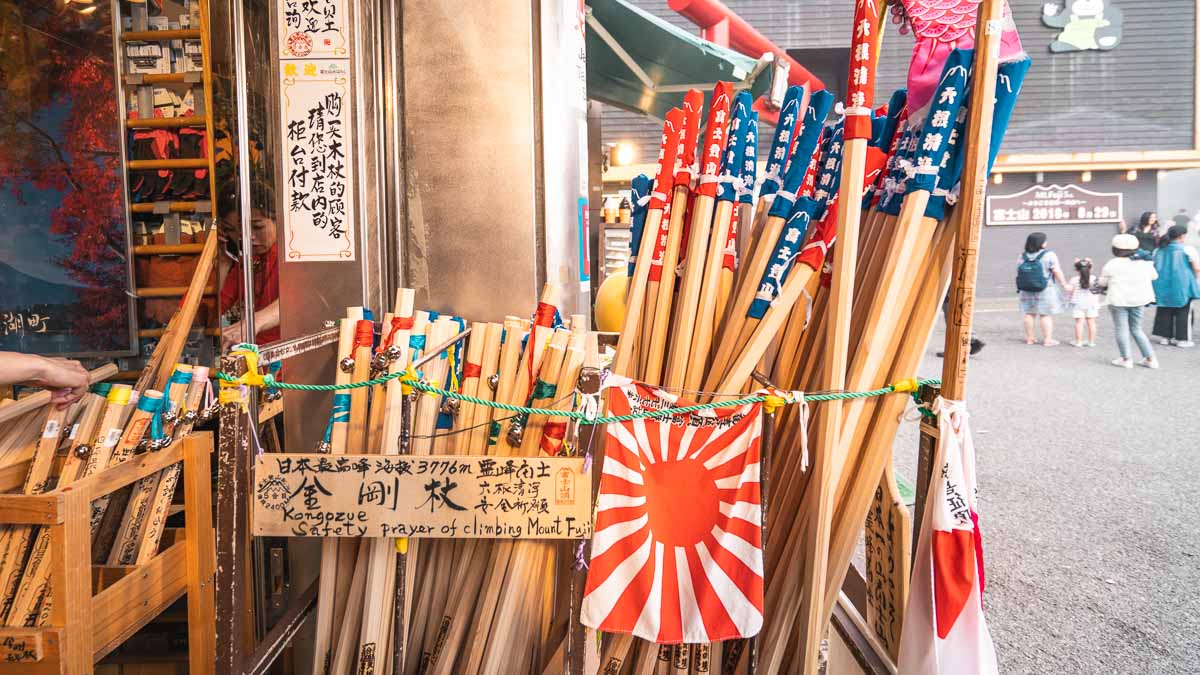
Wooden ‘Fuji Hiking Sticks’ are available at the base of the mountain at ~¥1400 (~S$16.90). It’s a great souvenir because there are stamp stations on the way up to mark your progress. The stamps are literally burnt into your stick at ¥300–500/stamp!
Food: Bring lots of snacks to munch along the hike for energy (and motivation, really). Pack at least one 1.5L bottle of water per person for the journey too.
Granted, there will be shops on the way up selling food, drinks, and even oxygen cans to help with the altitude sickness, but they get pricier the higher you go (uh, yay capitalism?). Water could cost at least ¥500 (~S$6) along the way up, and is not available for sale at all on descent.
If you’re afraid of getting altitude sickness, do get some over-the-counter pills from Singapore as a precaution.
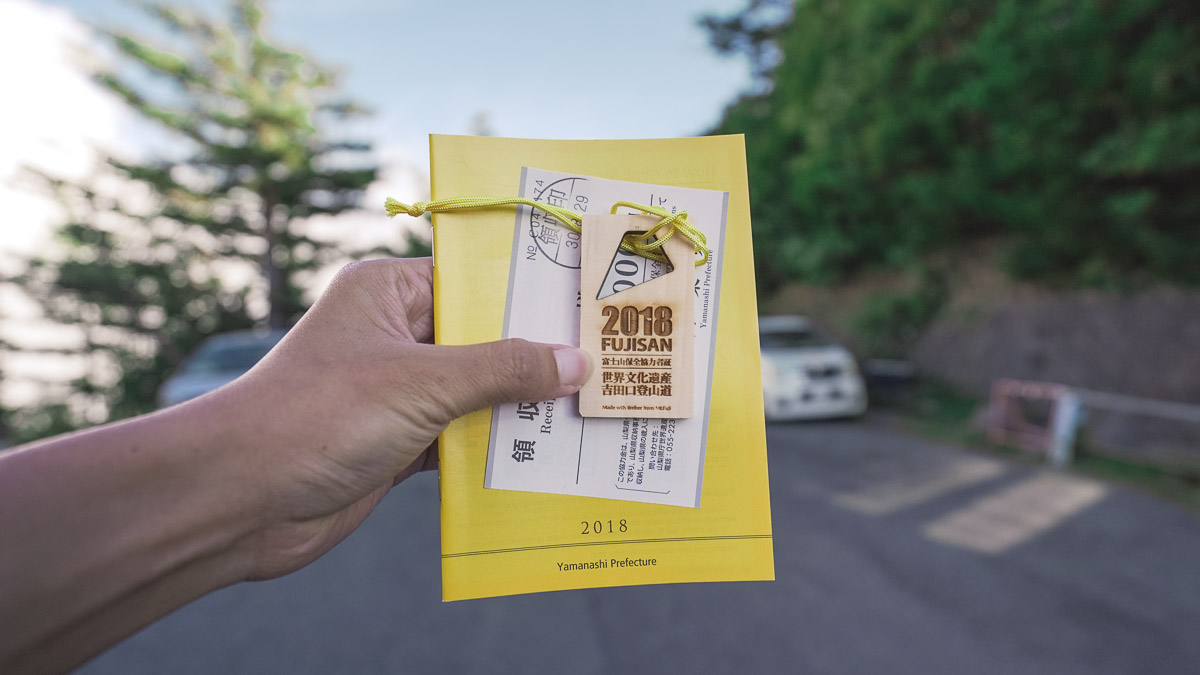
There’s no official “entrance fee” for Mount Fuji, but there’ll be collection of a ¥1000 maintenance fee at the start of the hike. In return, you’ll be given a hiking map and keychain souvenir to take home. Carry loose change for warm food and other essentials on your hike because credit payment is unavailable in the area. ¥100 coins for toilet facilities will also come in handy.
Update: Starting July 2024, hikers taking the Yoshida Trail from the Yamanashi Prefecture will have to pay a ¥2000 Climbing Fee. Other trails will still be free of charge to visitors.
We recommend packing everything you have in a 20–30L waterproof backpack to take with you on your overnight hike (or do it the army way and waterproof the contents with a plastic bag).
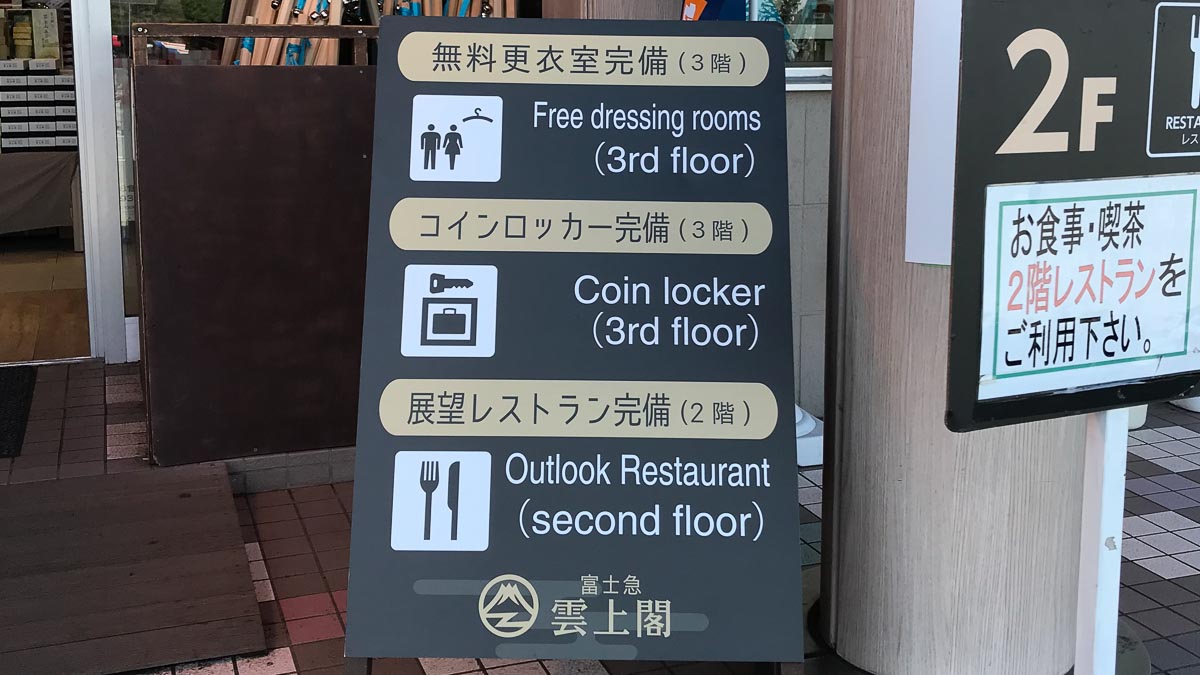
Main luggage: It’s best to travel light, and pack only what you need for the hike, so keep your main luggage either at your accommodation, or at coin lockers at JR Shinjuku, Tokyo, Mount Fuji or Kawaguchiko train stations. Items can be kept in these lockers for up to three days (¥300/day: 12AM – 11:59PM).
If you’re doing the Yoshida Trail, there are coin lockers situated at Lodge Fujiyama at Unjo-Kaku (¥300–600/use), or Fujisan Miharashi (¥400–500/use), both of which are lodges situated at the Subaru 5th Station.
*Pro-tip: Not essential, but pack a thermal flask and coffee/milo sachets for a hot drink closer to the summit. It’ll be the best warm drink you’ve ever had!
4) Book a night in the Mountain Hut
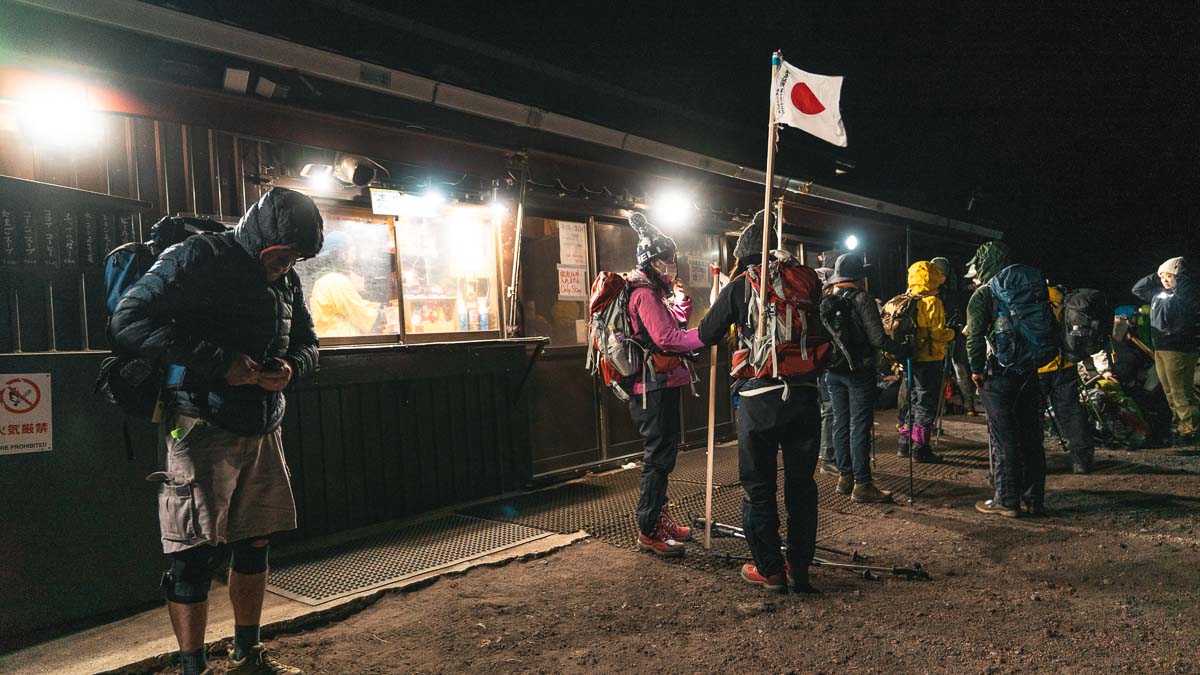
Before you start the hike, you should secure accommodation in a mountain hut so that you get a few hours of rest before doing the summit climb. This is important as bullet climbing (hiking non-stop overnight) is strongly discouraged for safety purposes.
There are mountain huts at almost every station on the Yoshida trail, and you can email in advance to make reservations. This is necessary especially in the peak climbing season from end July to end August. We recommend that you book a hut at the 7th or 8th station so that you would have covered more ground earlier in the day before the summit push, which takes 4–5 hours.
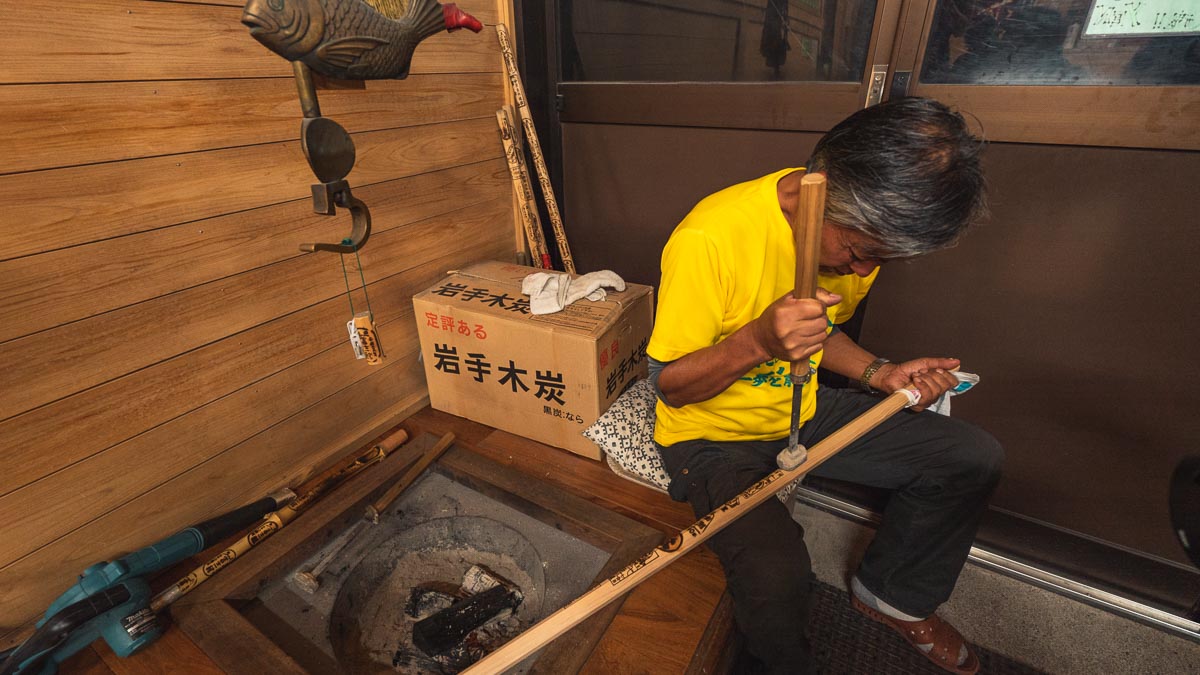
These huts are also where hikers can get their progress stamps burnt onto their sticks the old-school way. Sugoi!
Personally, I find the facilities on the hike to be so comforting compared to hikes elsewhere in the world. It’s pretty amazing how there’s clean water and restrooms, as well as warm food at such a high altitude. However, note that you can’t seek shelter at the mountain huts if you don’t have a reservation — the hut owners are quite strict with free-riders.
Read Also: 7D Budget Tokyo & Mount Fuji Itinerary For Under S$1.3k Including Accommodation
Mount Fuji Starting Point
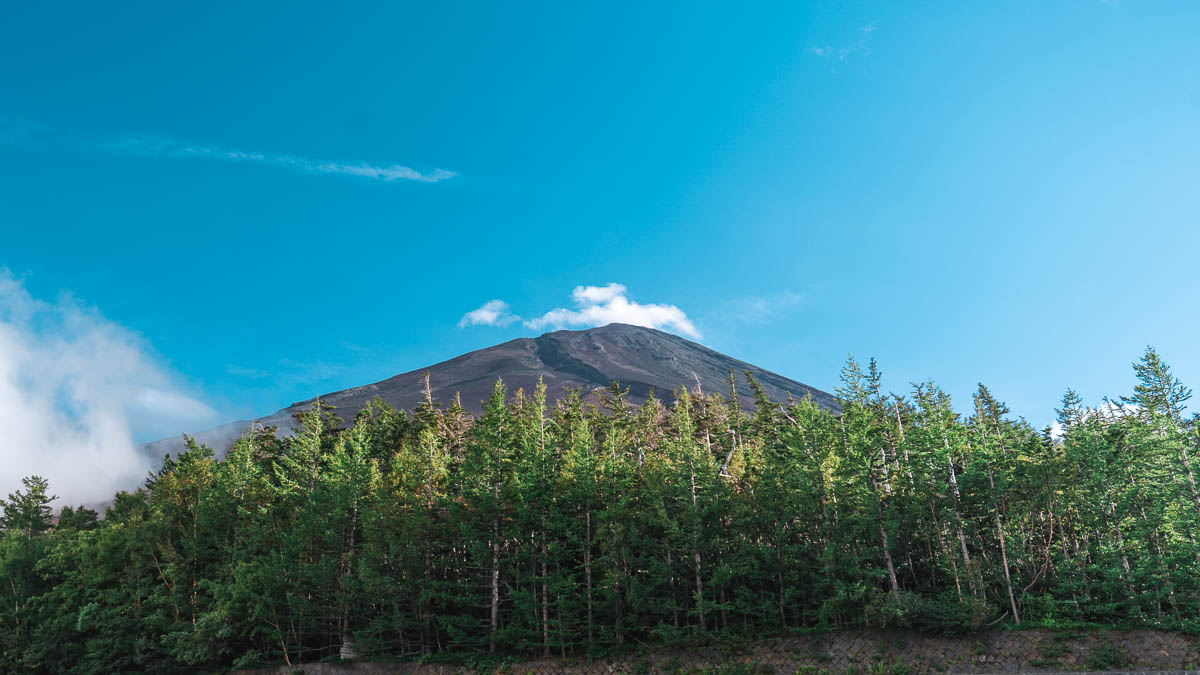
There are four main routes you can hike to the summit. Generally, climbing season is from 10 July to 10 September (the Yoshida Trail opens earlier on 1 July).
1) Yoshida Trail (吉田ルート)
The Yoshida Trail is the easiest and most popular route taken by 70% of Mount Fuji hikers, so you can expect many facilities including huts and shops along the entire trail. This is great for rest breaks in between.
Climbing Fee: ¥2000/pax (to be implemented July 2024)
Starts From: Subaru Line 5th Station. Accessible by bus from Kawaguchiko station.
Starting Altitude: 2300m
Time Required: 5–7 hours ascent, 3–5 hours descent
2) Fujinomiya Trail (富士宮ルート)
The second-most popular route, the Fujinomiya Trail too has many facilities along the way. However, because the routes for ascent and descent are the same, the path can be quite congested. Sunrise can only be seen at the peak, but not on the way up.
Starts From: Fujinomiya 5th Station. Accessible by shinkansen (bullet train)
Starting Aaltitude: 2400m
Time Required: 4–7 hours ascent, 2–4 hours descent
3) Subashiri Trail — Challenging Route (須走ルート)
The Subashiri Trail is a difficult route. It only gets crowded when it meets the Yoshida trail at the Old 8th Station. There are few facilities along the way.
Starts From: Subashiri 5th Station
Starting Altitude: 2000m
Time Required: 5–8 hours ascent, 3–5 hours descent
4) Gotemba Trail — Hardest Route (御殿場ルート)
The Gotemba Trail is the most difficult route, with few huts being available at only 3000m (7th/8th stations). Its loose and slippery gravel terrain on descent gave it the endearing name of the Great Sand Run, where you can run down one third the hike.
Starts From: Gotemba 5th Station
Starting Altitude: 1400m
Time Required: 7–10 hours ascent, 3–6 hours descent
Our Experience of the Yoshida Trail
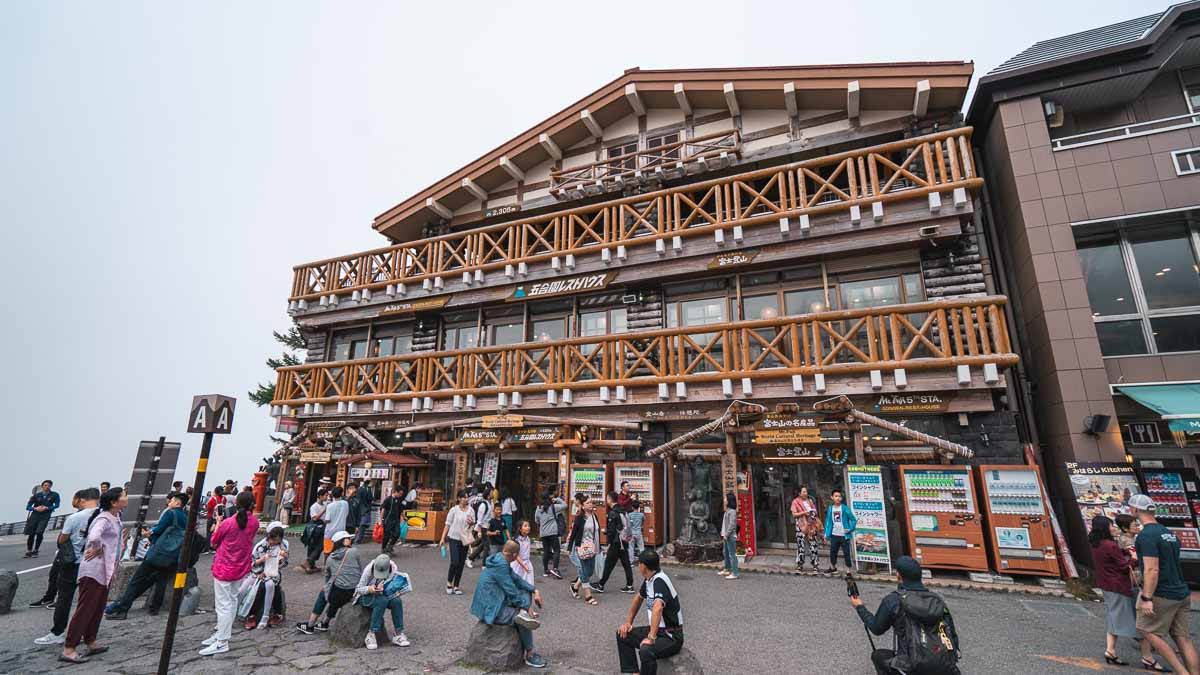
Striking a good balance between being accessible, challenging enough and rewarding all at the same time, we decided to start from the Yoshida Trail.
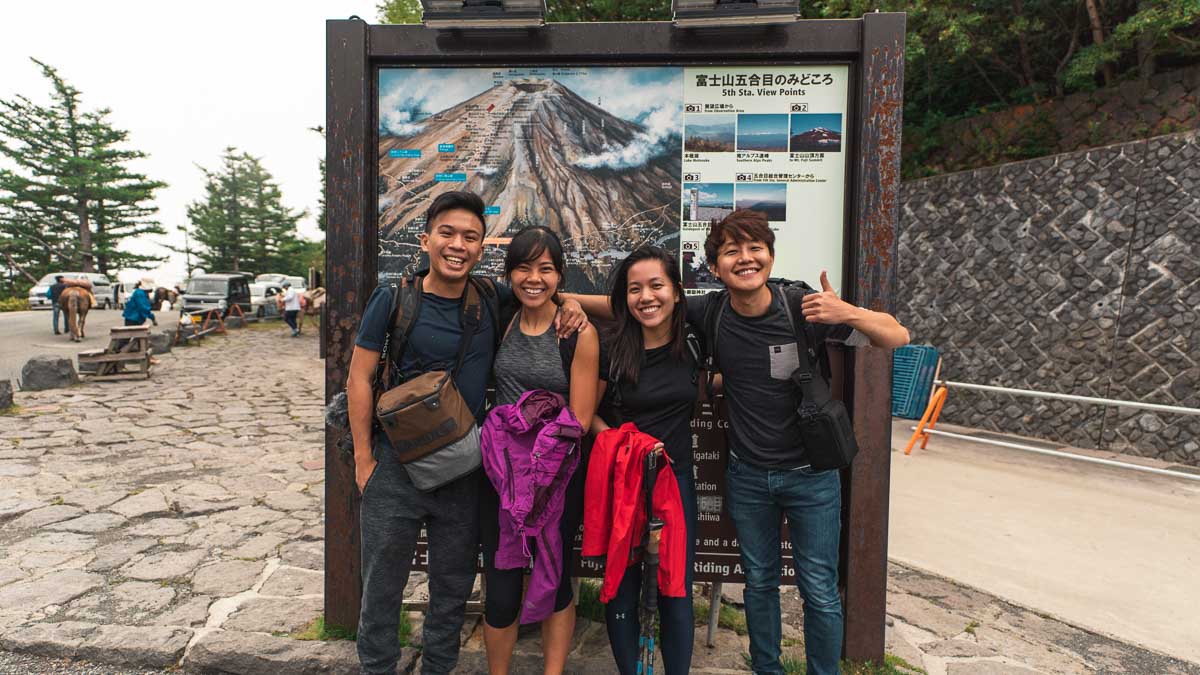
5th Station: The hike starts from the Subaru 5th Station and the most common way to getting there is via a 50-min bus ride on the Fuji Subaru Line from Kawaguchiko Station (¥2200 round-trip/pax, ~S$26.60). During climbing season, buses arrive every hour. Tickets can be bought directly from Kawaguchiko Station.
To help with acclimatising, rest at the 5th station for approximately an hour before embarking on your hike. A good time to start your hike is around 4–5PM. This gives you enough daylight to complete the bulk of the first part of your hike, and allows you to catch the sunset as well!
At the Subaru 5th Station, you’ll be greeted with a small village-base-camp of sorts full of shops, restaurants and souvenir shops — everything you need before you begin the hike. Water, snacks and the Fuji Wooden Hiking Stick can be bought here.
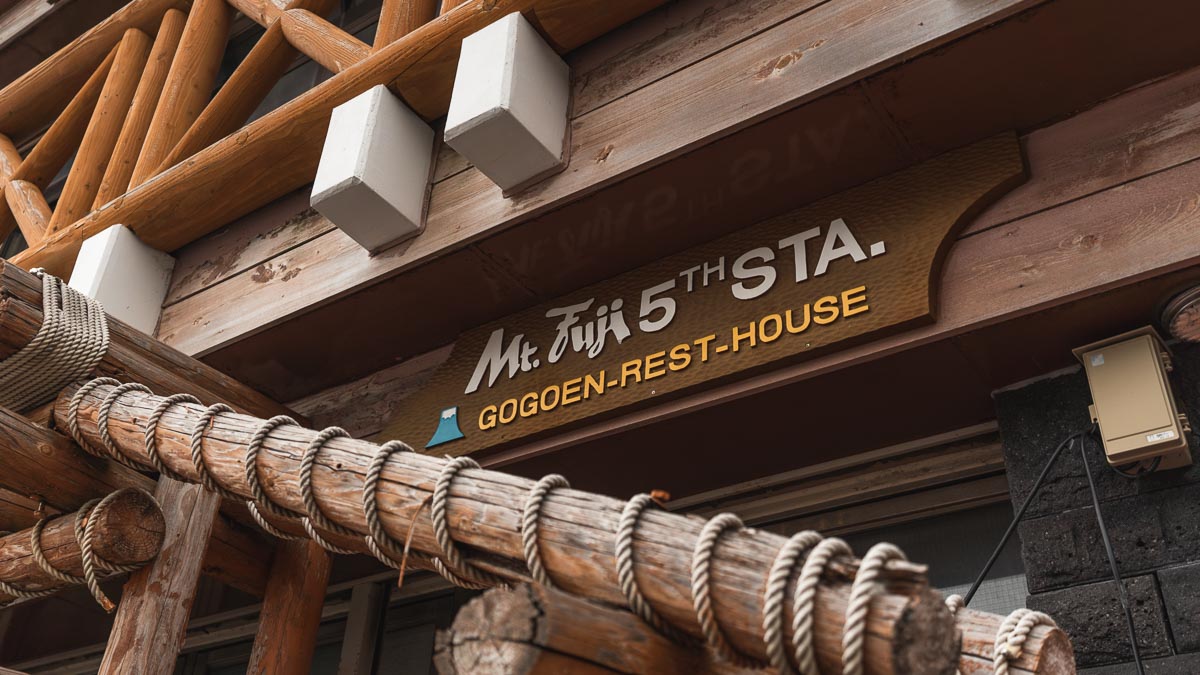
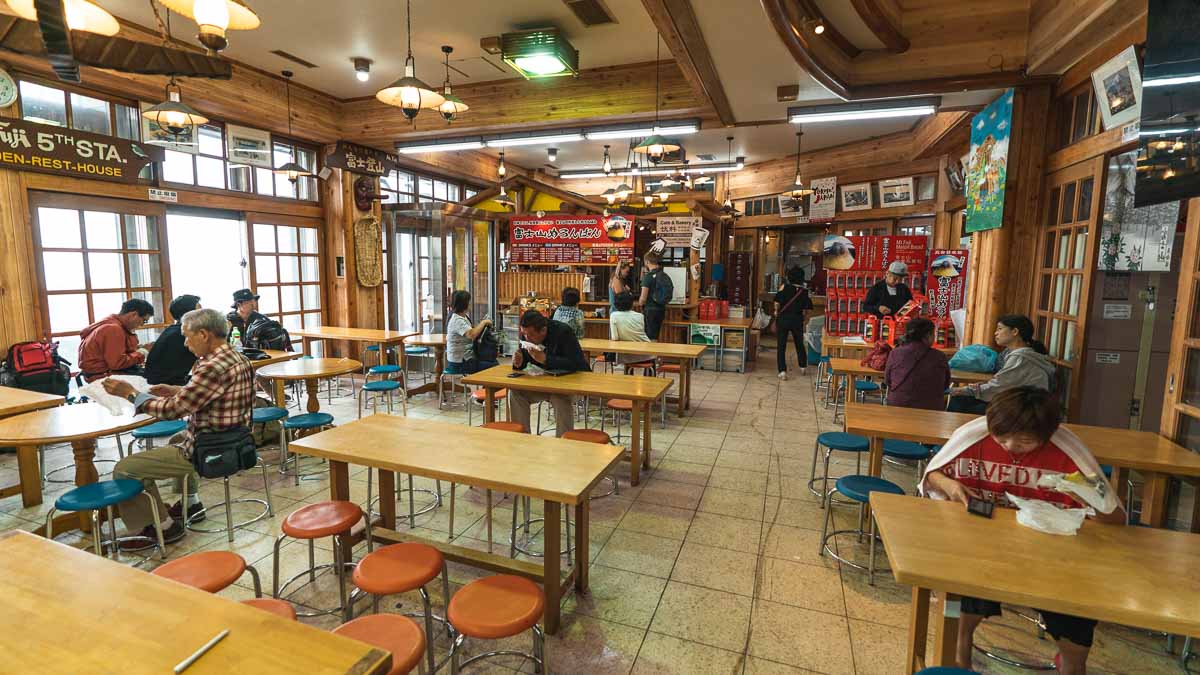
To fuel yourself pre-hike, head to the Gogoen Resthouse for no-frills, comfort food such as fried chicken (¥1100), pancakes (¥250) and butter potato (¥500).
If you have no accommodation booked in the Mount Fuji area and you’re arriving at the 5th station with heavy baggage, you can consider spending the night at Lodge Fujiyama at Unjo-Kaku — a lodge with capsule rooms and lockers available (¥7560/pax, ~S$91.40).
If you’re in need of cash for the hike, there’s a currency exchange service ‘Exchangers’, that caters to 158 currencies (including SGD).
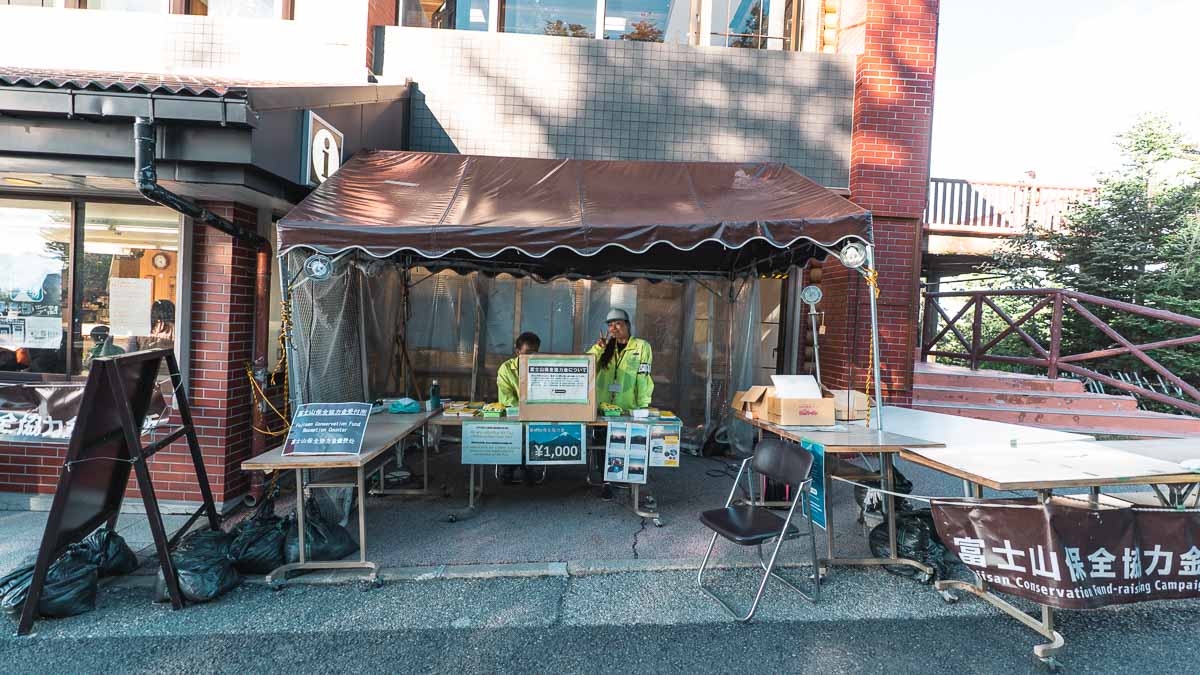
At the start of the climb, you’ll have to pay the ¥1000 maintenance fee at this booth.
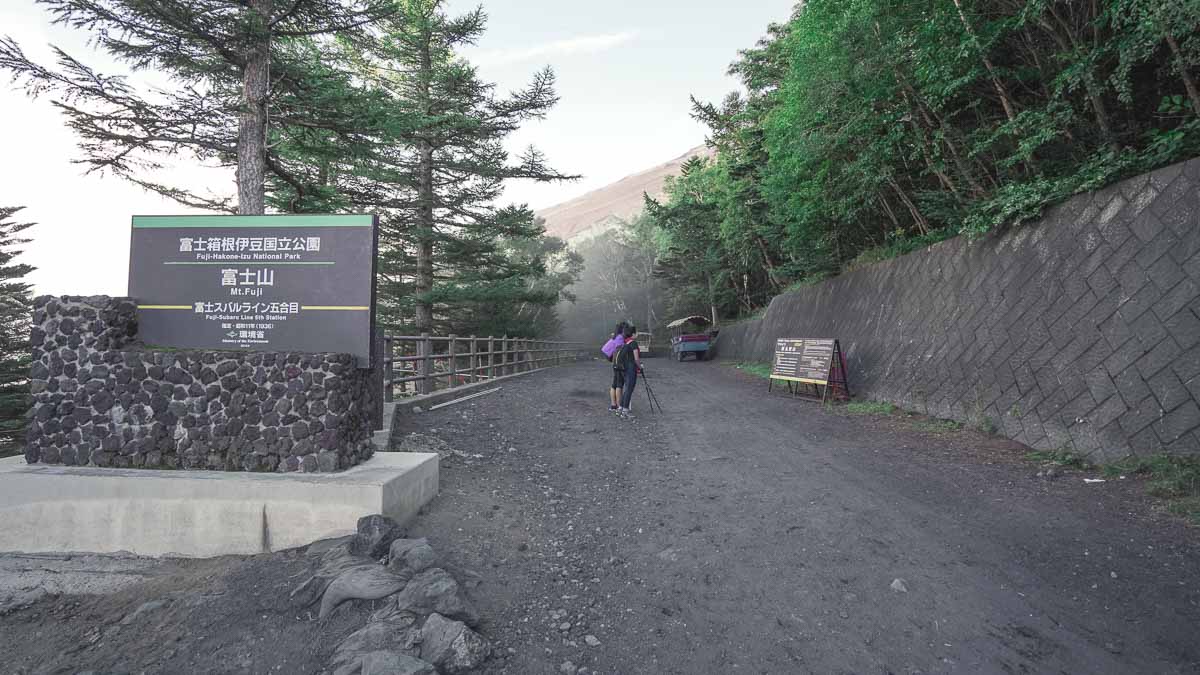
Once you’re ready to start the hike, follow the dirt road to a sign that signifies the start of the Yoshida Trail.
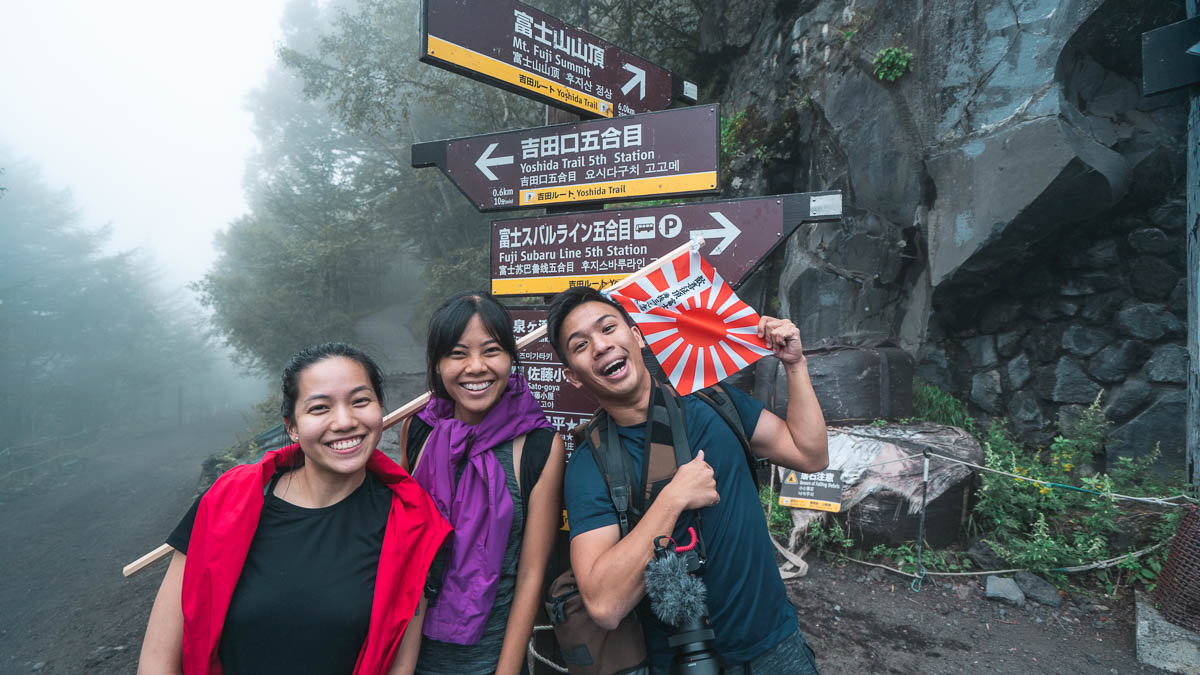
Follow that path alongside other hikers to this signage, and your journey begins. From here, you’ll take ~30–40mins to get from the 5th station to the 6th.
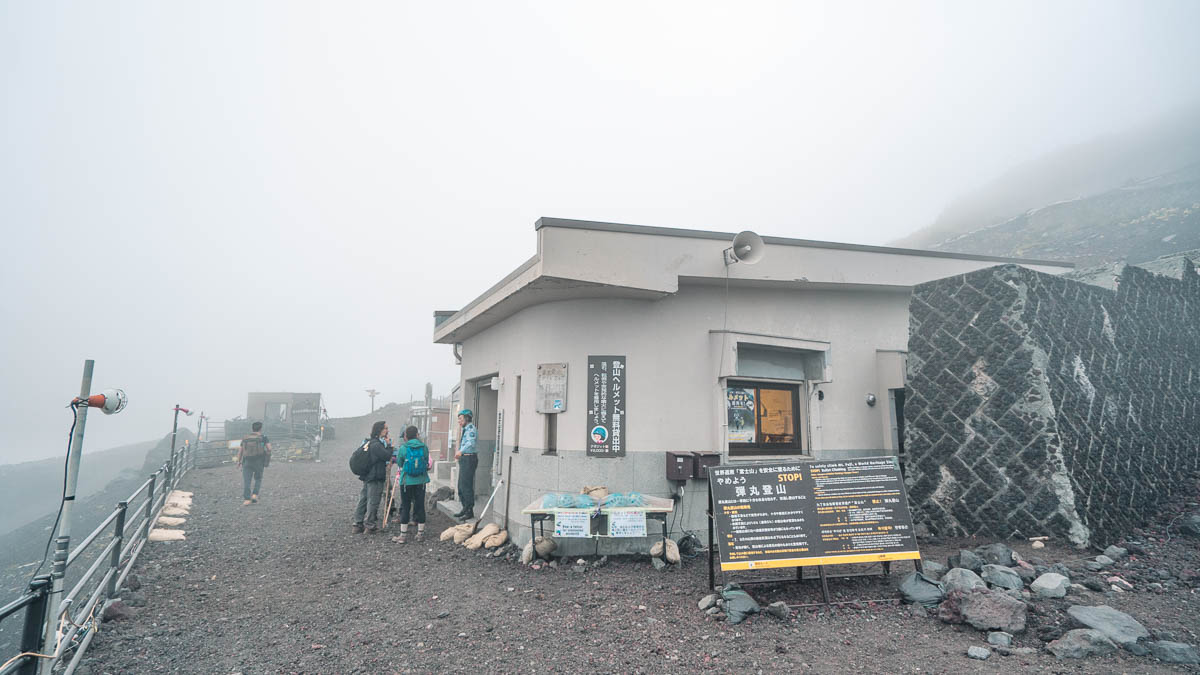
6th station: Toilets (¥100) and helmet renting facilities (¥2000) are available here.
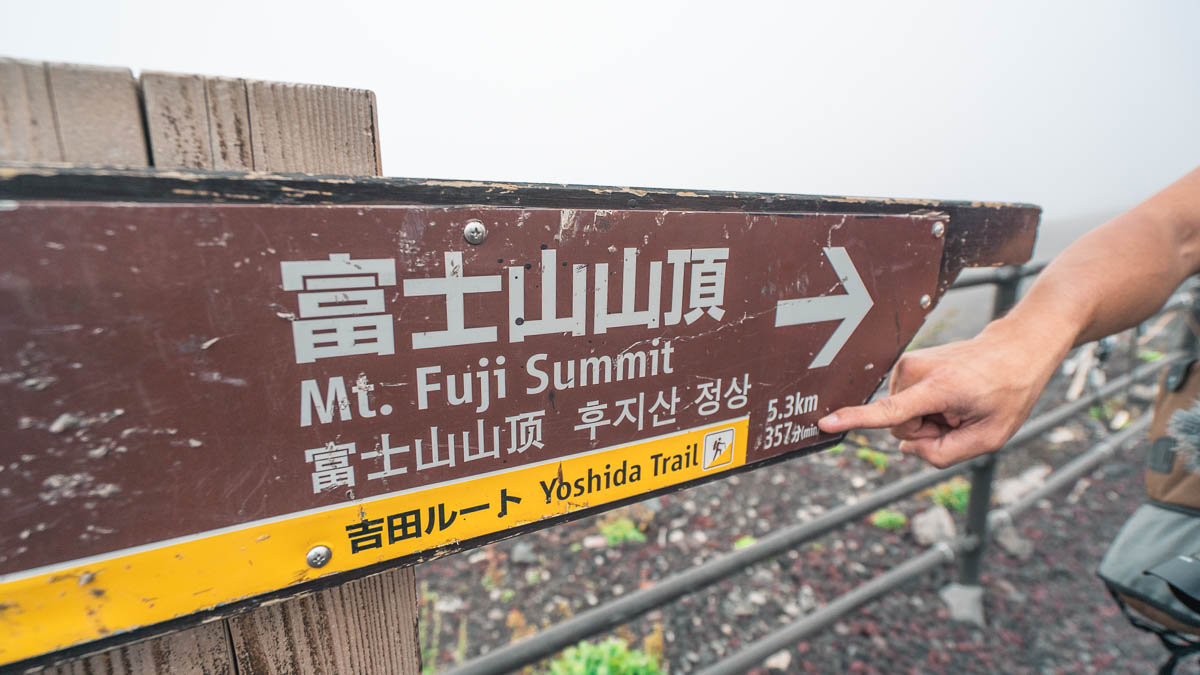
You’ll see multiple signs as such guiding you along. All the paths are clearly marked, so there’s no fear of getting lost!
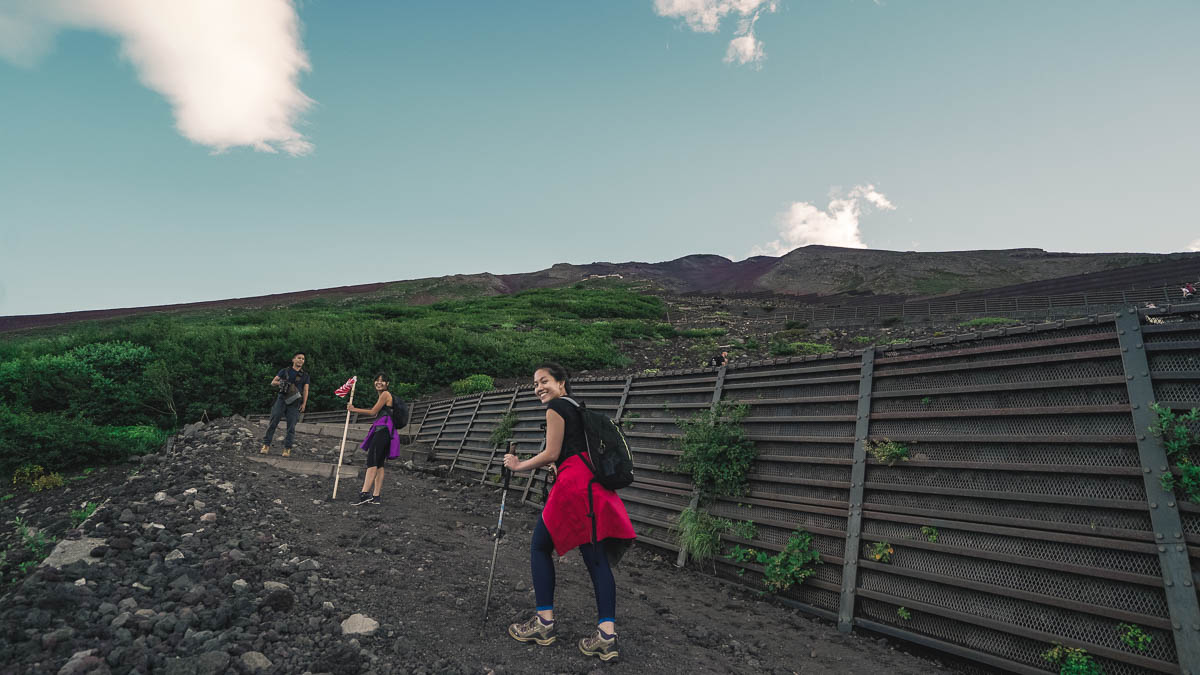
The path gets more difficult from the 6th station, with steeper and tougher terrain.
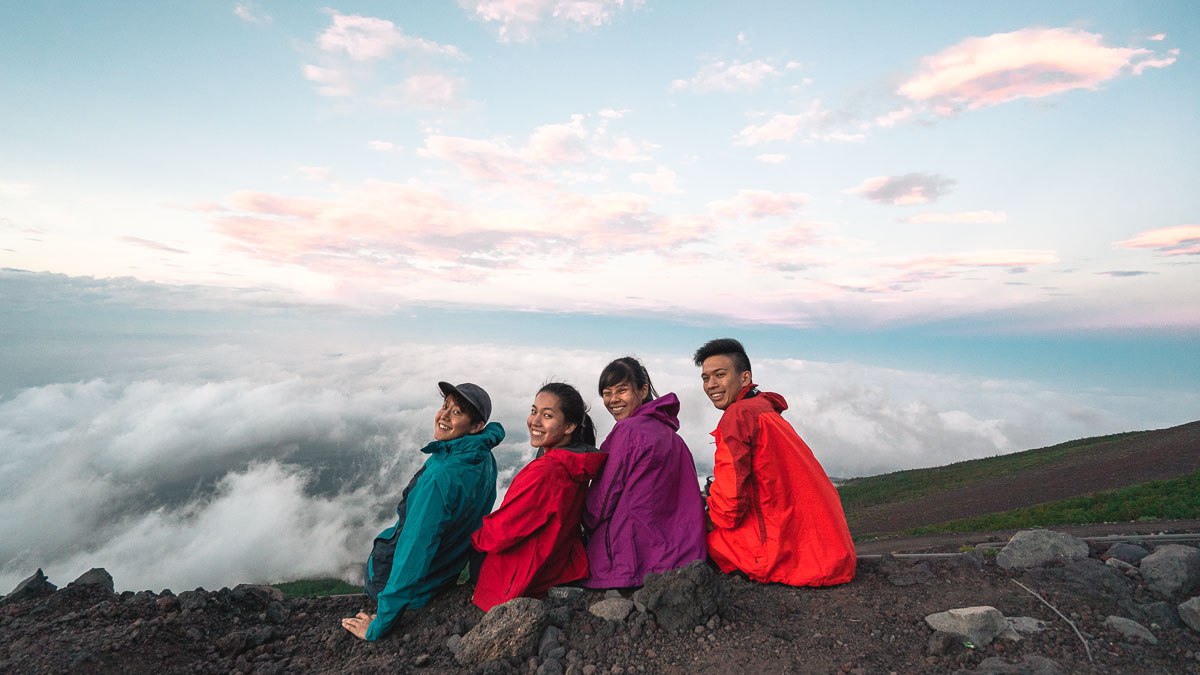
If you’re lucky, you can take a break along the way and catch the cotton-candy skies at sunset!
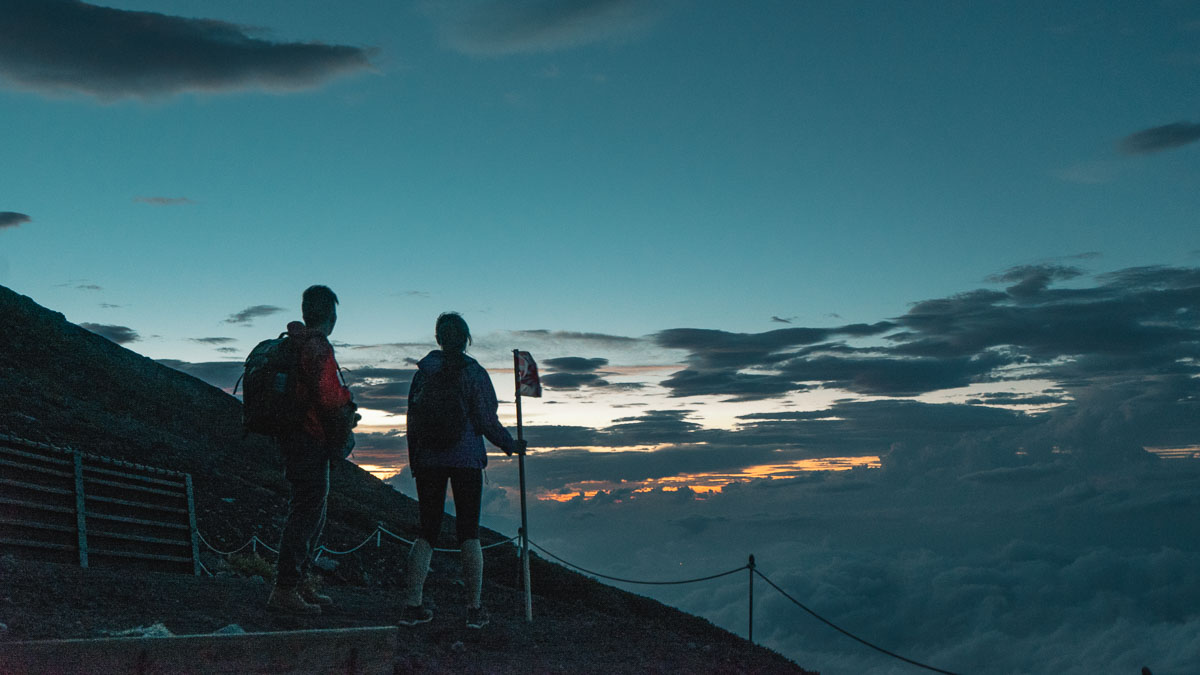
It also gets darker as you hike, which means your headlamp will come in handy. By the the time we reached our mountain hut (half way to the 7th station), it was ~8:15PM.
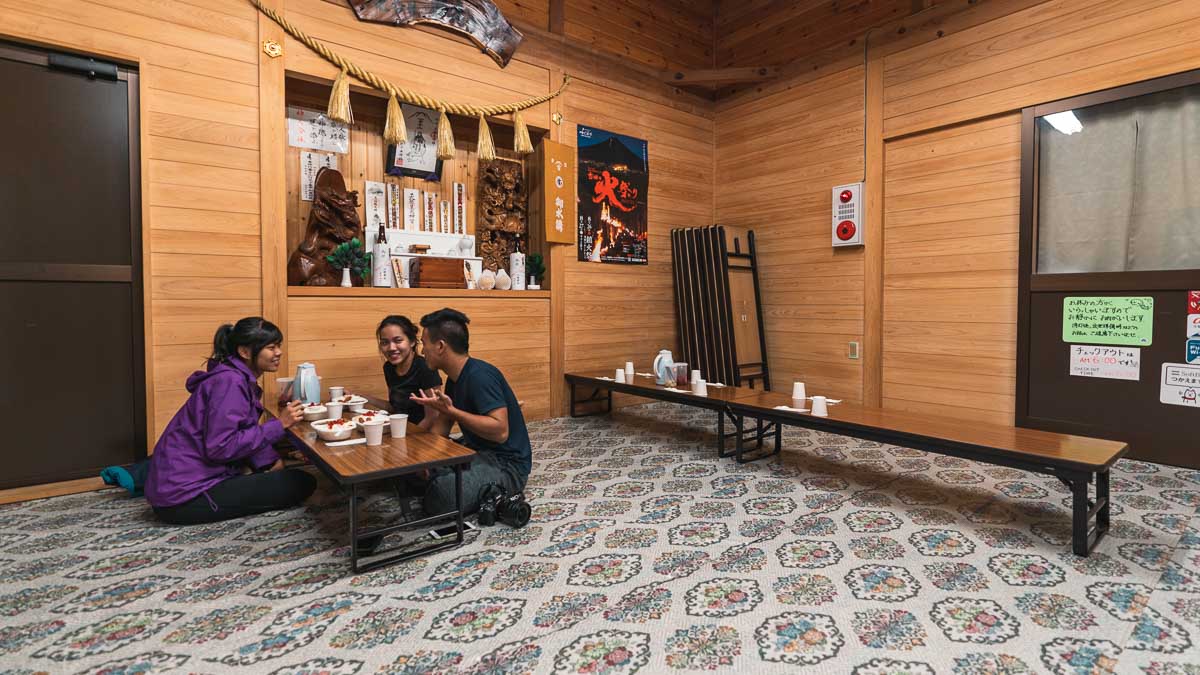
We stayed at the Fujichikan Hut, which cost us about ¥6700/pax (~S$81) inclusive of dinner. The mountain huts are simply furnished, offering shelter (no shower), clean sleeping arrangements and a warm, welcoming chicken curry dinner.
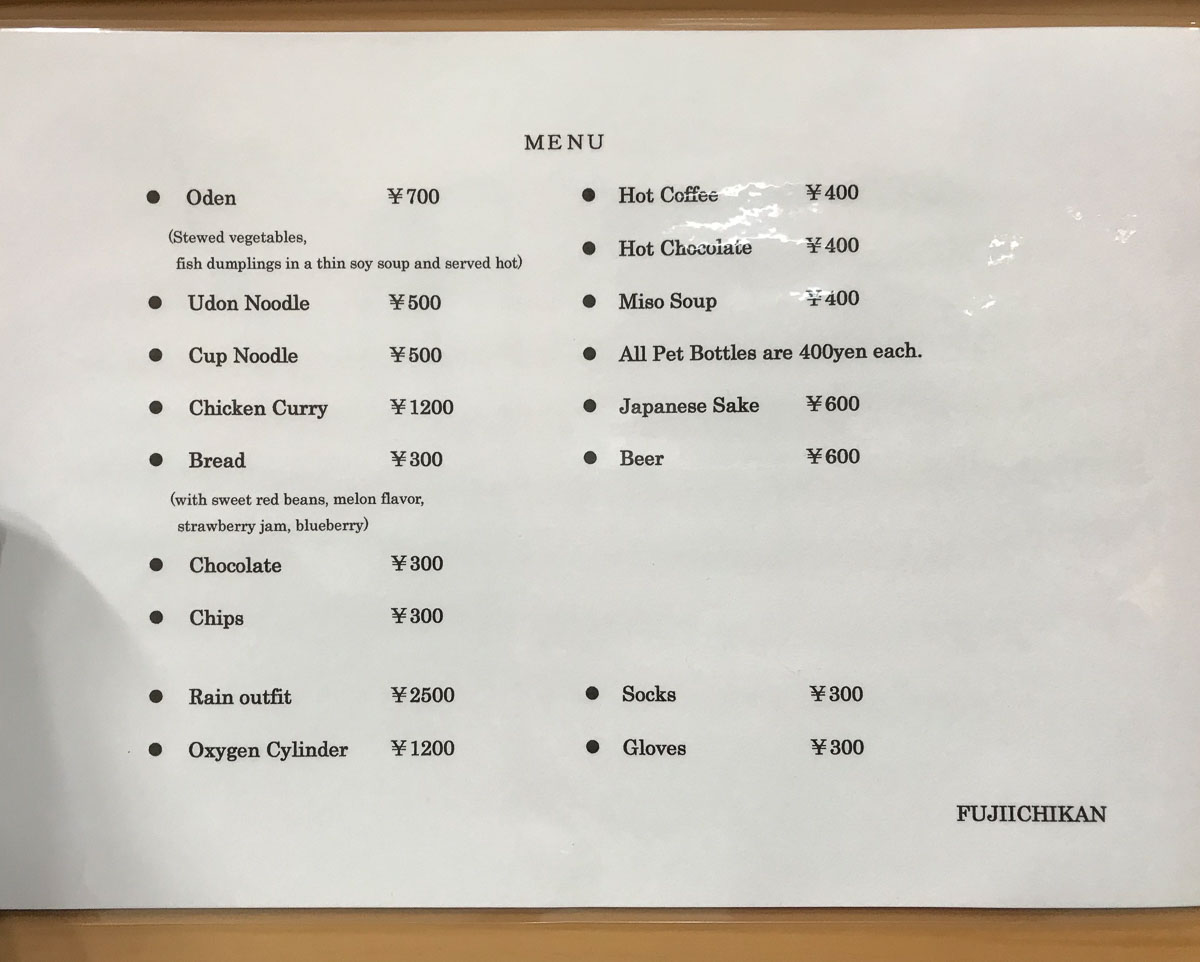
A price list of everything the hut offers — we found the items quite affordable considering the scarcity high up in the mountains!
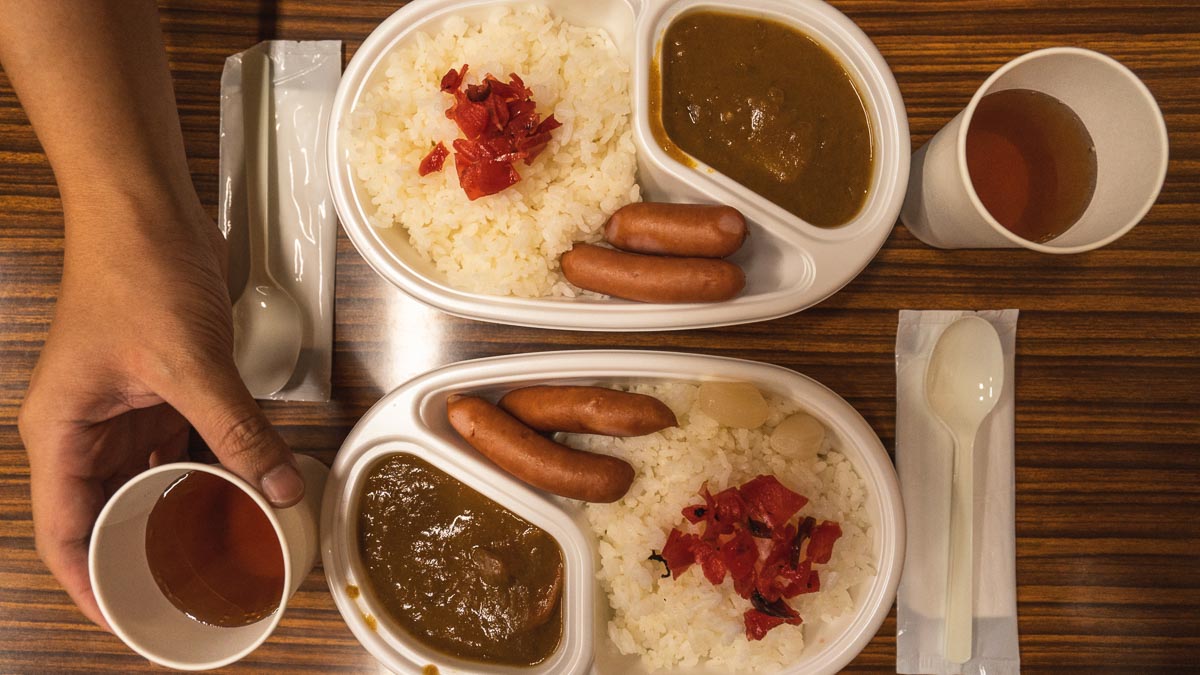
After hours of hiking in the cold, the simple meal of curry with warm tea is truly comforting.
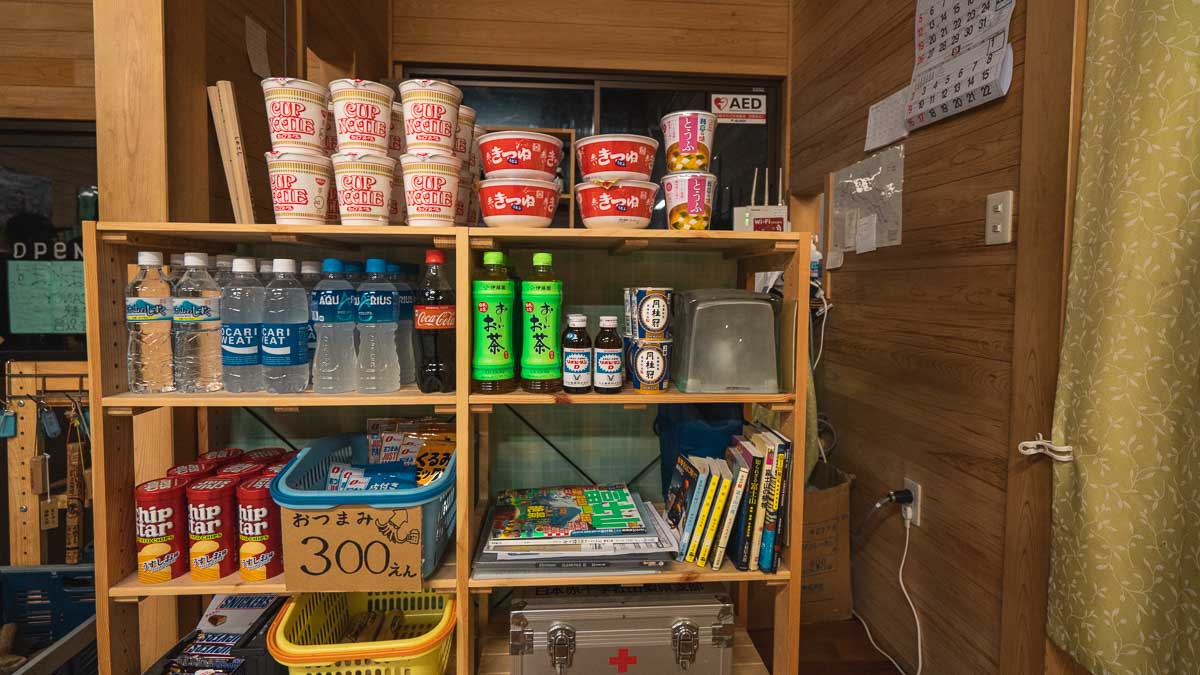
If you’re still hungry after the meal, the hut also offers instant noodles for some soupy goodness in the cold. They also have isotonic drinks to replenish your salts.
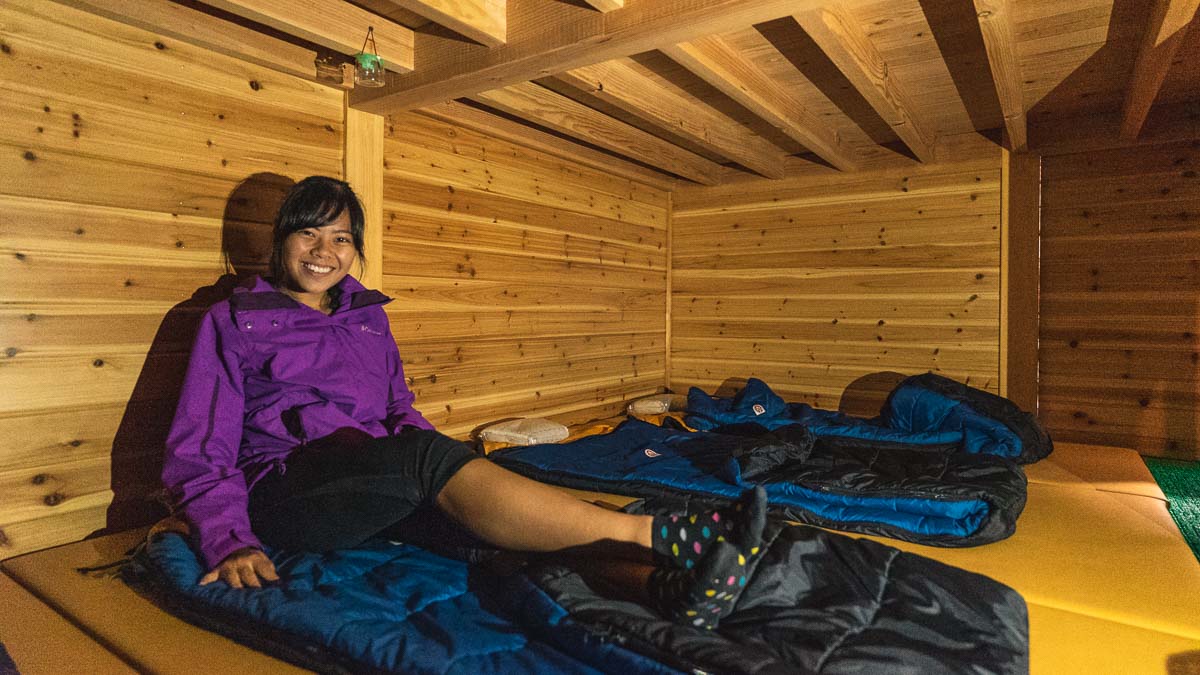
After the meal, all lights were out by 9PM. Everyone retired to their sleeping quarters, where sleeping bags lined up side by side. It’s clean and comfortable — great for a 2–3 hour nap before the summit climb.
Around 11:30PM, we layered up and got ready to continue the hike. It gets really cold from this part of the climb due to the strong winds.
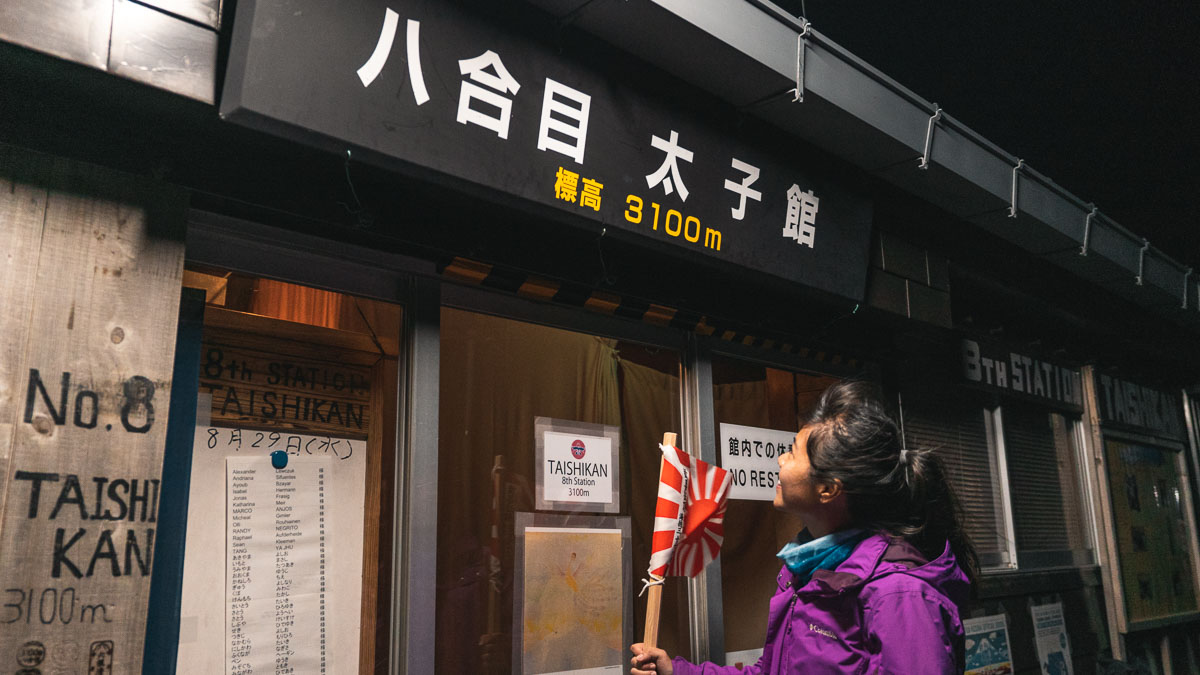
We proceeded to complete the 7th station and got to the Taishikan Hut at the 8th station, 3100m above sea level.
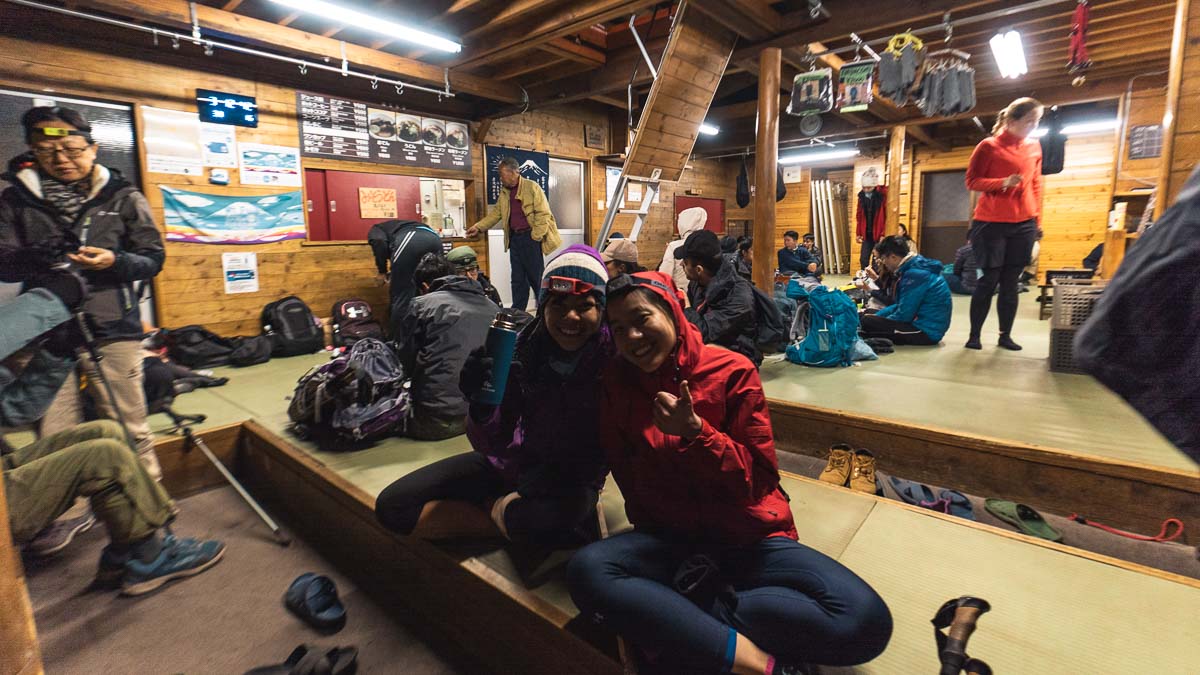
8th Station, Original 8th Station and the Summit: Ahead of schedule, we decided to treat ourselves to a warm meal inside the Goraikoukan Hut, after we passed the Original 8th Station. This hut is the starting point for the last stretch to the summit. It’s also where the Yoshida and Subashiri Trails meet, so there’ll be quite a bit of congestion from here on as the roads get narrower as well.
Here, we started to witness other hikers having altitude sickness. Altitude sickness can happen to anyone no matter how physically fit you are. Drink lots of water, rest up, or buy an oxygen can if necessary.
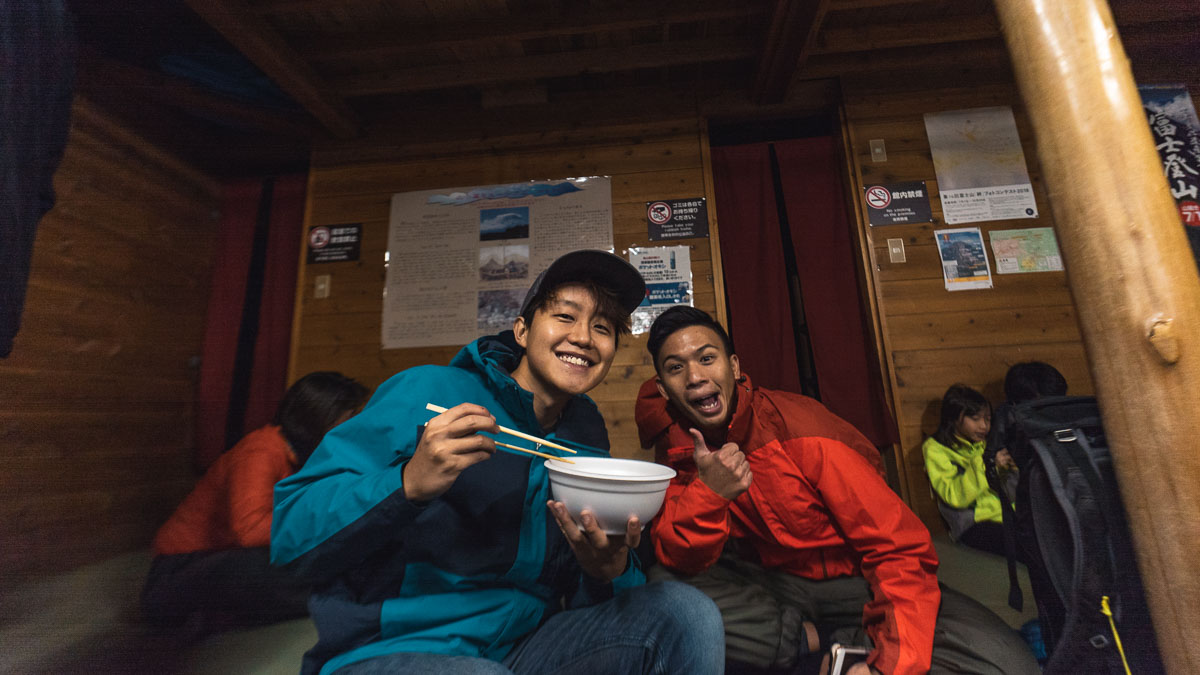
We ordered a bowl of ramen (¥800) before the final push to the summit alongside many other hikers. Some other food highlights to look forward to here are chicken bun (300) sweet bean bread (¥300) and chai tea (¥200).
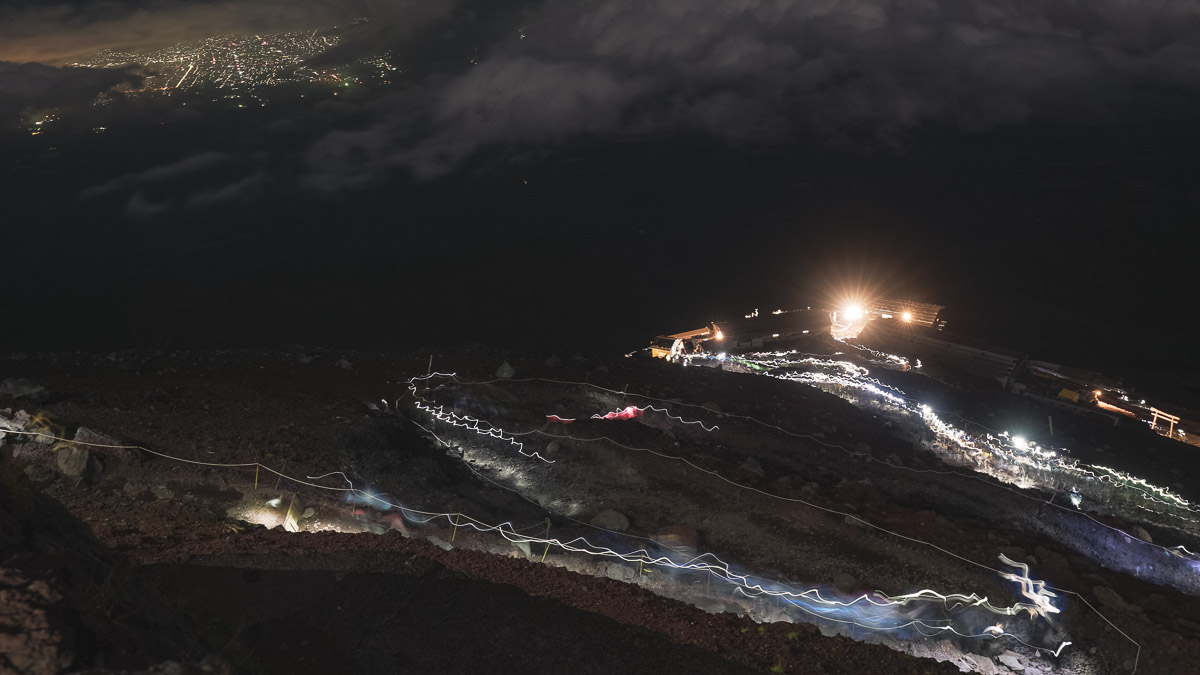
From the Original 8th Station onwards, you can see a long string of headlamps shining in the dark. Really cool!
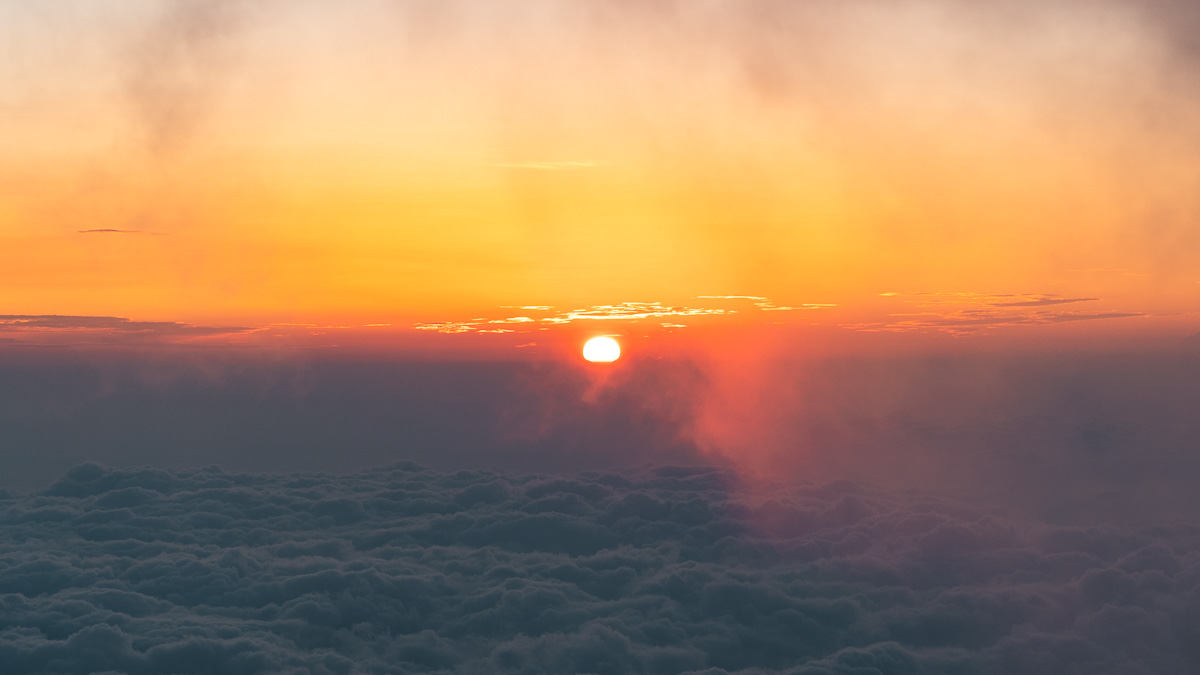
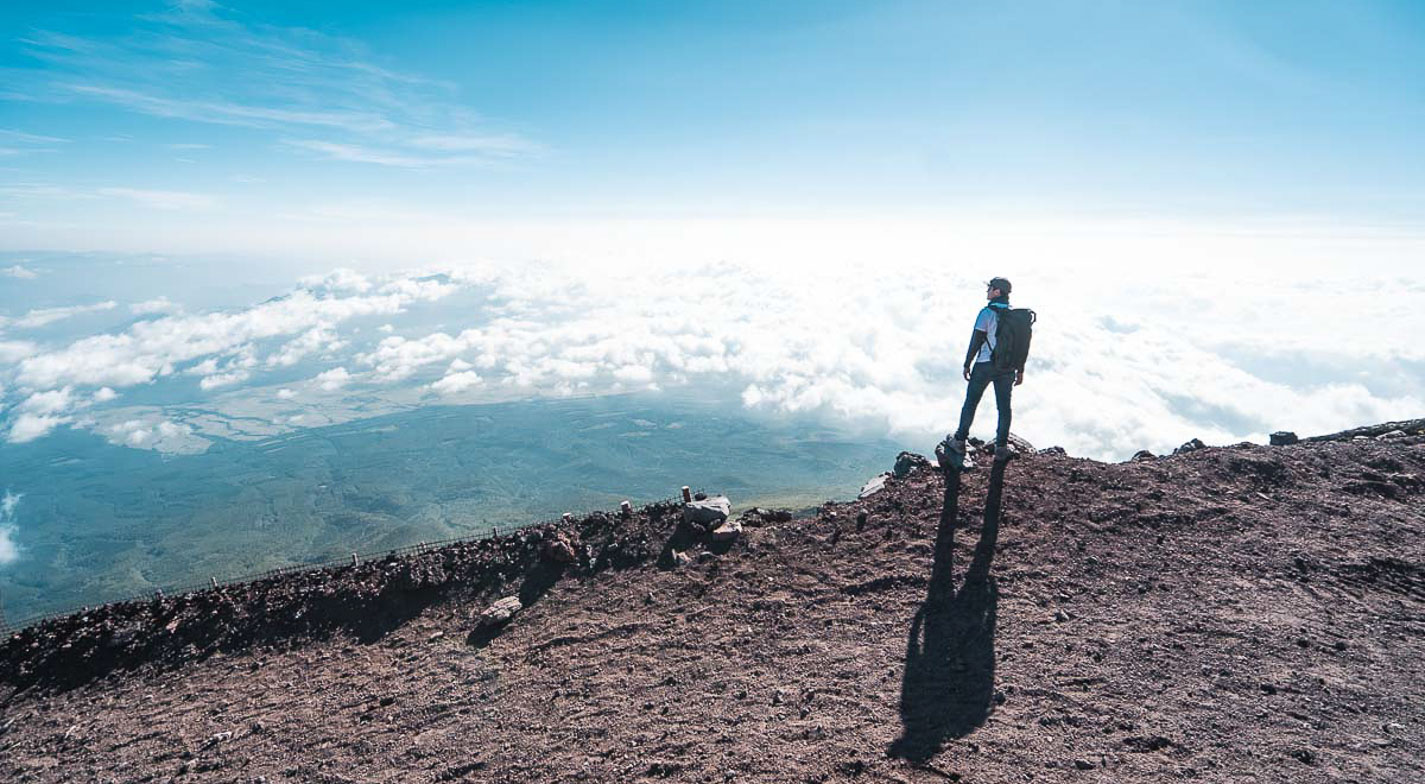
Finally, we made it to the summit at sunrise. Being at the top of Japan felt absolutely euphoric, not to mention the sense of accomplishment! If the weather’s clear, you can even see the Fuji 5 Lakes below.
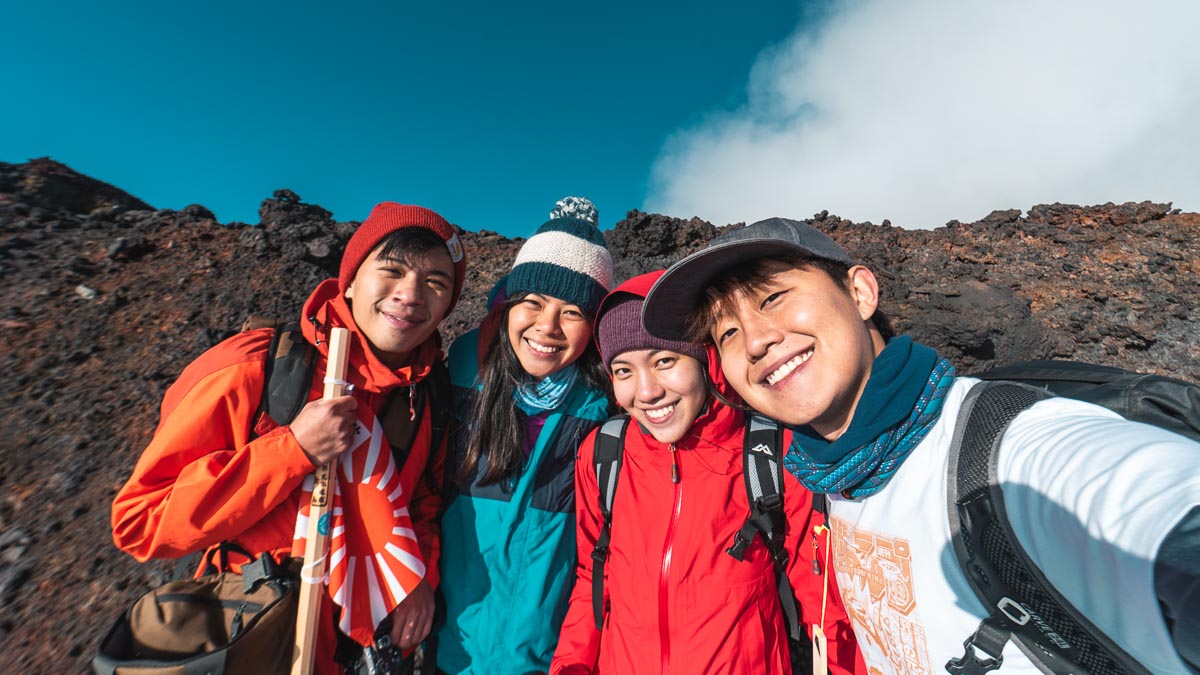
Happy to have made it to the top unscathed!
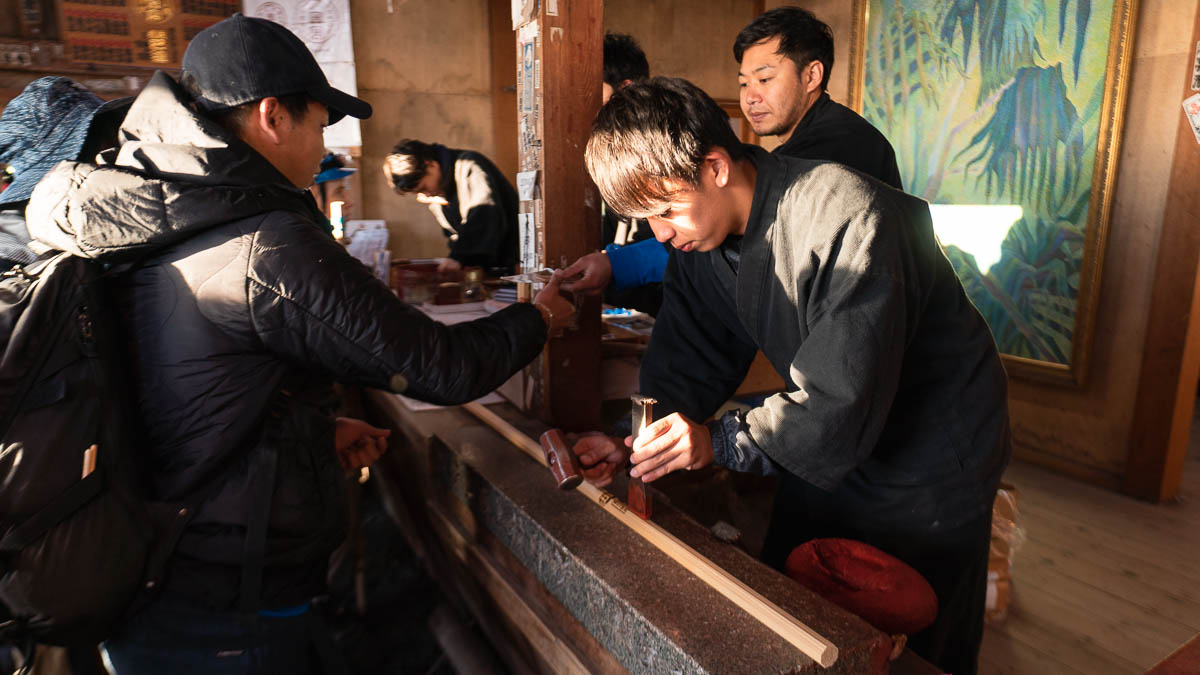
For those with the Mount Fuji wooden sticks, head into the Fujisan Hongū Sengen Taisha — a sacred Shinto shrine on top of Mount Fuji — where you can get your hiking stick branded with the summit stamp. To keep record of this milestone, you can even register online for a certificate to confirm your accomplishment.
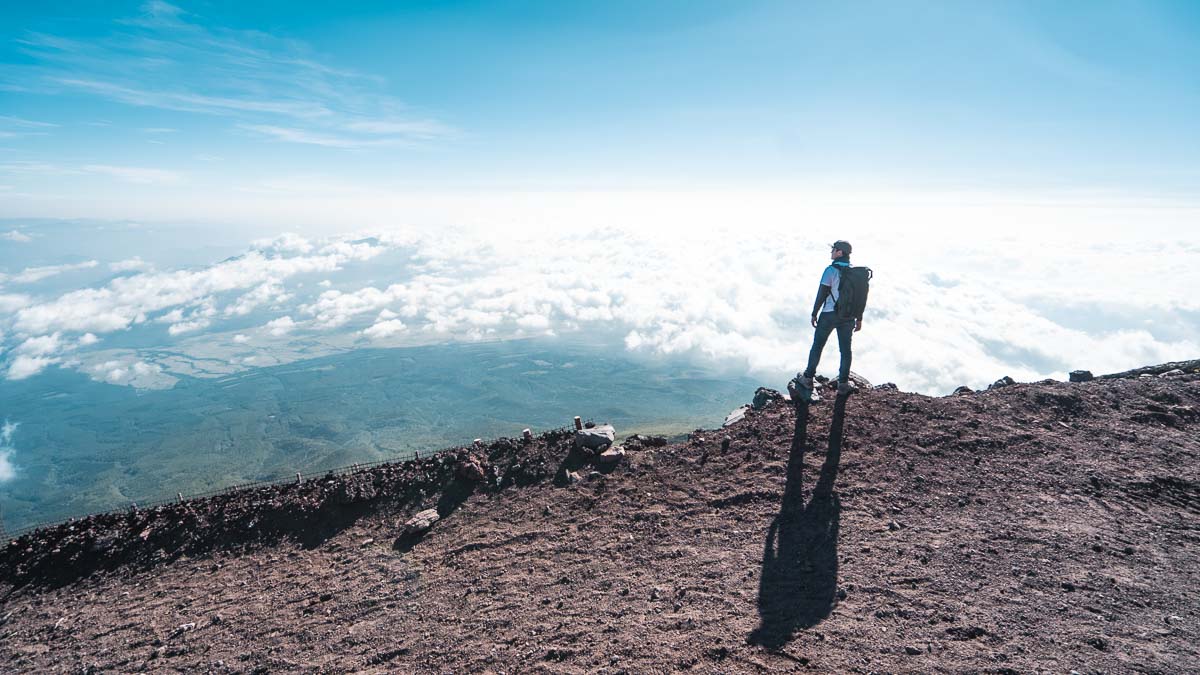
If you still have energy in you, head towards the Kengamine Peak — the true highest point of Mount Fuji at the 3776.24m mark. It’s a 30-min walk upwards, closer to the summit of the Fujinomiya Trail.
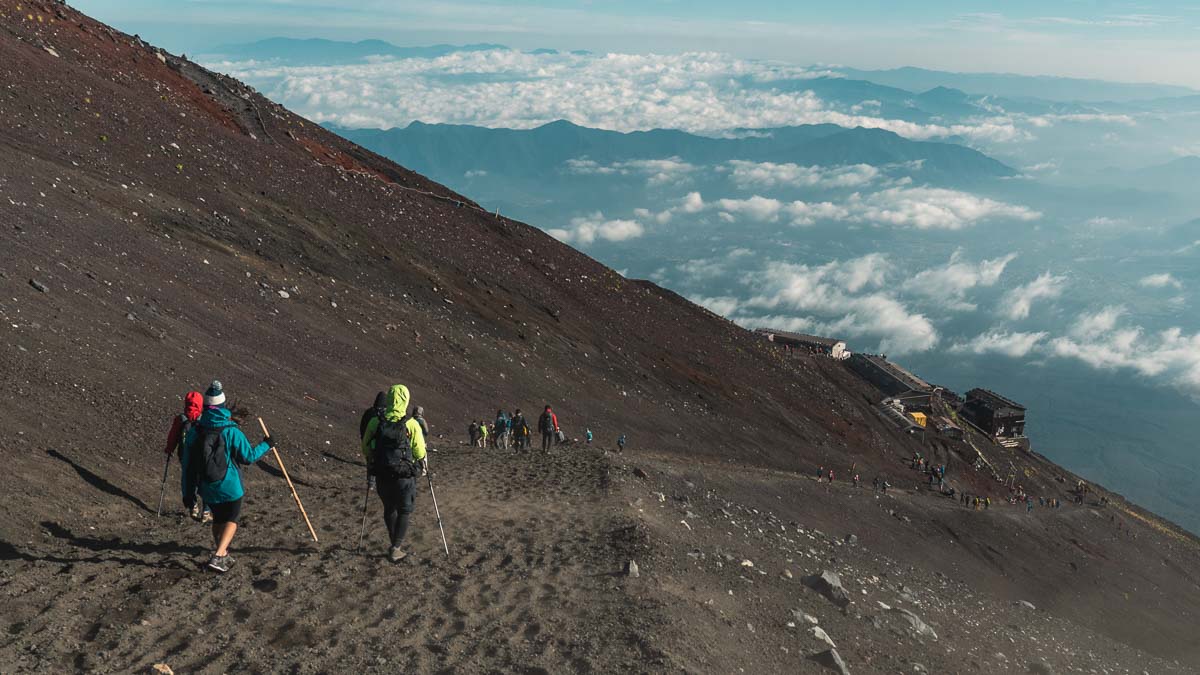
Descent: Be prepared to peel off your layers as the morning sun can be quite unforgiving in the exposed landscape. The hike downwards is rocky and slippery, so be cautious! Here’s where your hiking sticks come in especially handy.
When you reach the diverging point at the 8th station, take note of the signage to take the Yoshida Trail and not the Subashiri Trail down.
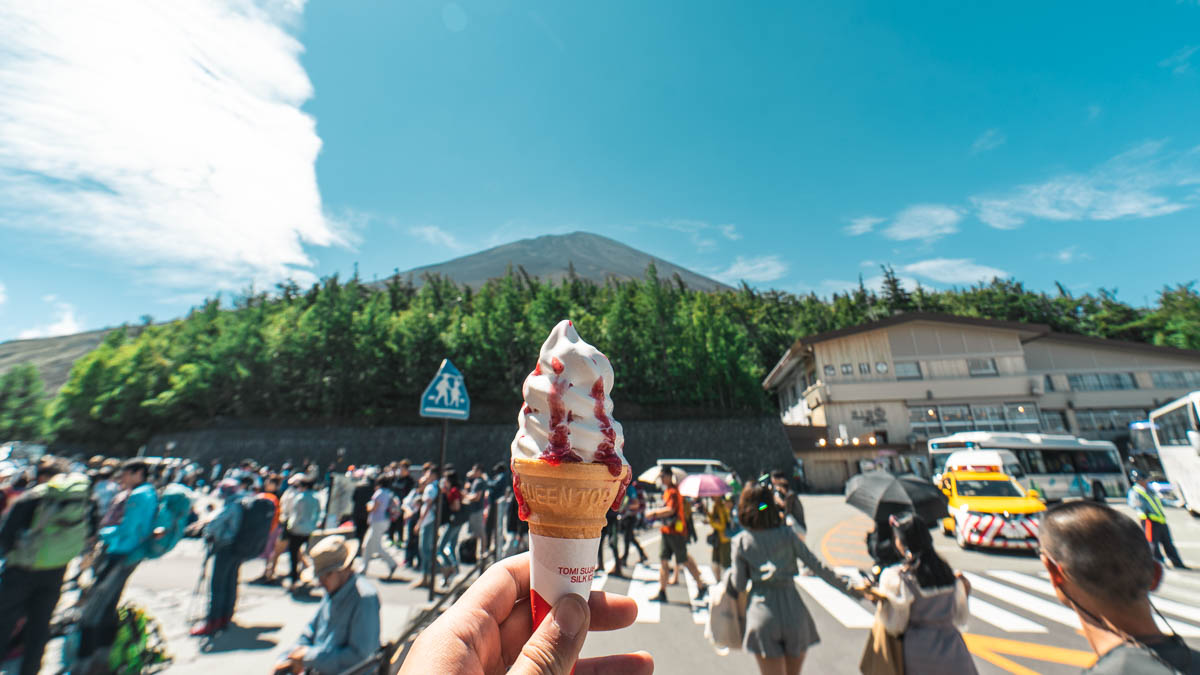
Once you’re back down, reward yourself with a Fuji specialty dessert — the Kokemomo Soft Cream (¥400) at the 5th Station. Then, get back on board the Fujikyu back to Kawaguchiko.
Climbing Mount Fuji is quite doable and enjoyable, whether you’re a regular hiker or not. Especially when you get to take many breaks in between to rest and take in the whole scenery without being rushed. Staying in a mountain hut was also a unique experience for us.
Watching the clouds roll in front of the emerging sunrise at the top makes the whole climb worth it. On the trail, when you see the number of people — locals and travellers alike — all here to reach the summit, you can’t help but feel a united spirit for being a part of this adventure together.
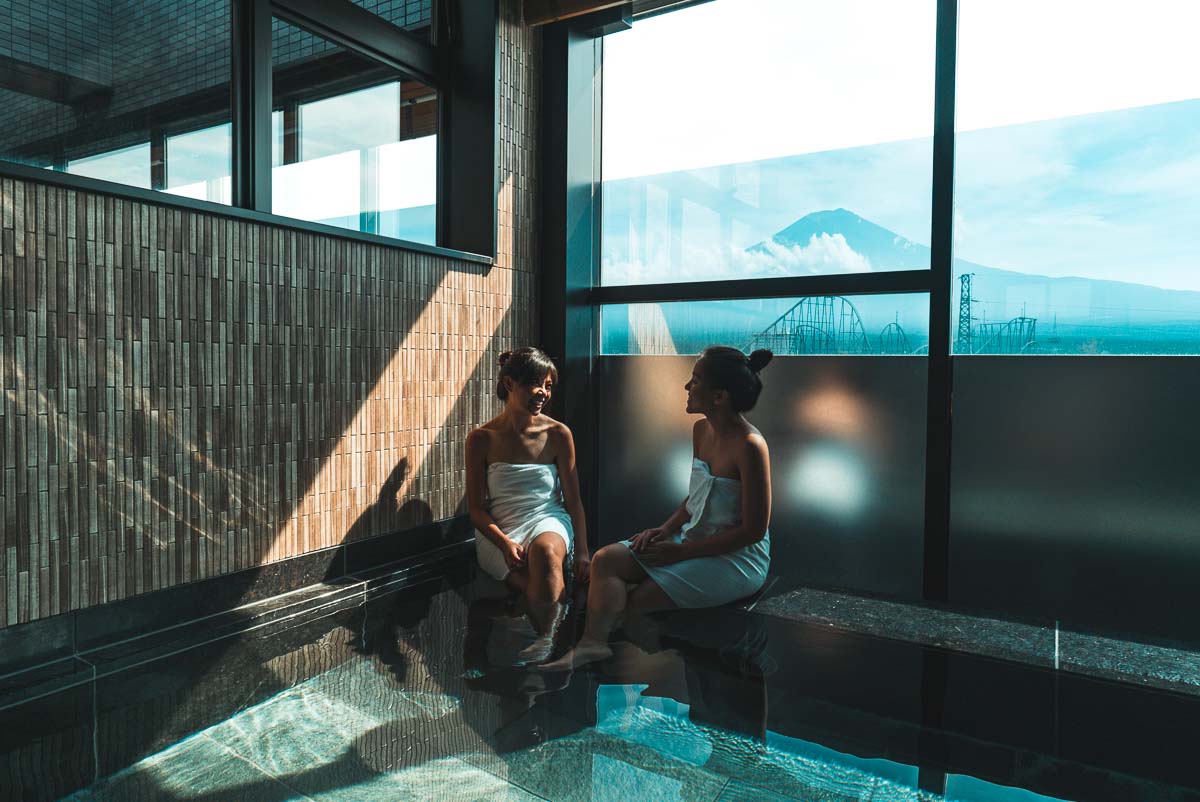
*Disclaimer: We’re only wearing towels here for photography purposes — towels within the onsen’s premises is not allowed IRL! It’s part of the Japanese culture that everyone enters onsens unclothed.
After heading back to the central Fuji area, we were happy troopers who wanted to just soak our aching muscles in our hotel’s onsen. No shame in admitting this — we were staying in the HOTEL MYSTAYS Fuji Onsen Resort simply because we wanted to have this to look forward to at the end of the hike.
Hike Overview:
16:30 — Begin hike at 5th Station. ~30–40mins to 6th Station.
18:40 — Arrive at 6th Station. ~60mins to 7th Station.
19:30 — Arrive at 7th Station. Stay in mountain hut to have dinner/rest.
23:40 — Leave the hut for the summit push through 8th, original 8th Station and to the summit
04:00/04:30 — Arrive at the summit for sunrise
06:00/06:30 — Begin trek for descent
09:30 — Back down at Subaru 5th Station
*Timings differ based on climbing speed and the number of breaks you take. Do note that as you approach the summit, there’ll be some congestion due to the massive number of hikers, which might slow you down. The aim is to reach the summit by sunrise, approximately 4AM – 4:30AM.
Post-Climb Activities Around Mount Fuji
Besides climbing Mount Fuji, there’s also lots to explore in the Fuji area. When planning your itinerary to conquer the mountain, it’ll be great to include activities that are nearby so that you make the most out of your trip.
1) Pick up up your rental car
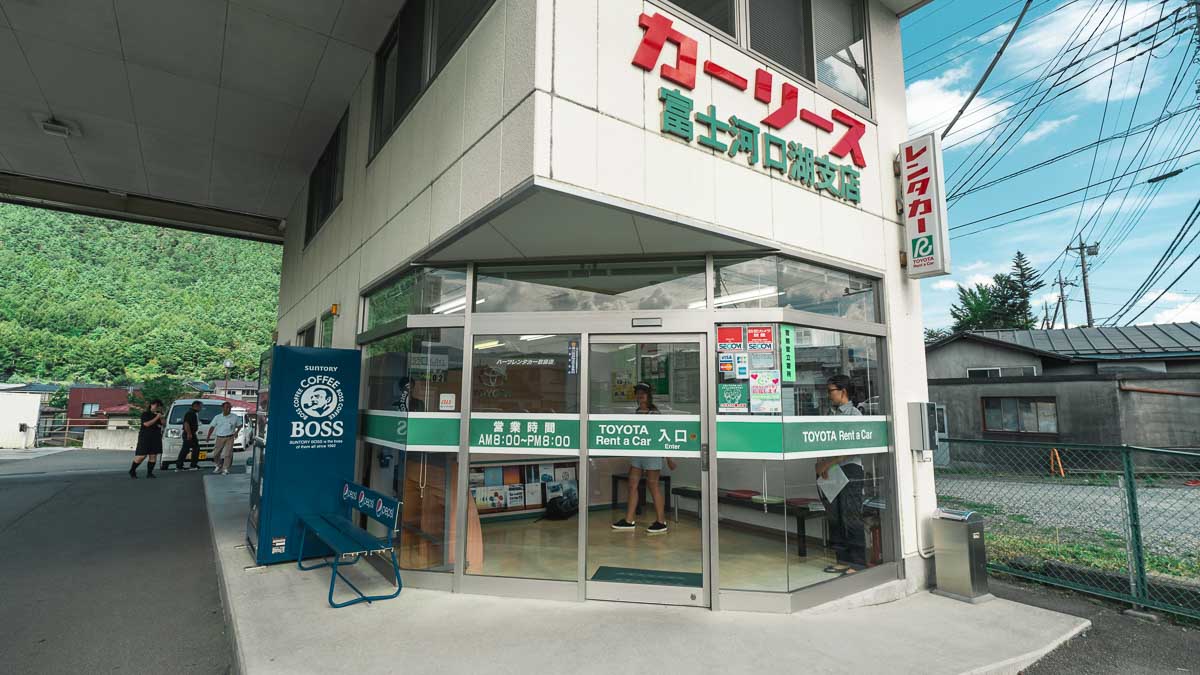
While you’re in the Mount Fuji area, it’s more convenient to rent a car to get around. Most of the attractions are accessible by car, with proper, free-of-charge parking spaces.
We suggest going to Toyota Rent A Car. There’s even a 7-11 across the road to stock up on snacks before you go! You can email the company in advance to make reservations for a car of your choice. We rented a Corolla Axio (¥9180 including insurance) for 24 hours.
Before you head for your trip, be sure to apply for your International Driving Permit (IDP) in Singapore before you fly to Japan. Japan’s regulations are such that you need one to rent a car for the road. There are a few branches in Singapore, and the application process only takes about 30 minutes, including the collection. The permit lasts for a year and lets you drive almost everywhere in the world.
Opening Hours: 8AM – 8PM
Address: 4657 Funatsu, Fujikawaguchiko, Minamitsuru District, Yamanashi Prefecture 401-0301, Japan. If your accommodation is nearby, you can give them a call to ask for a pick-up, so that you have transportation to the car rental location.
Read also: How to get around the Mt Fuji area on public transport
2) Visit the Fuji Five Lakes
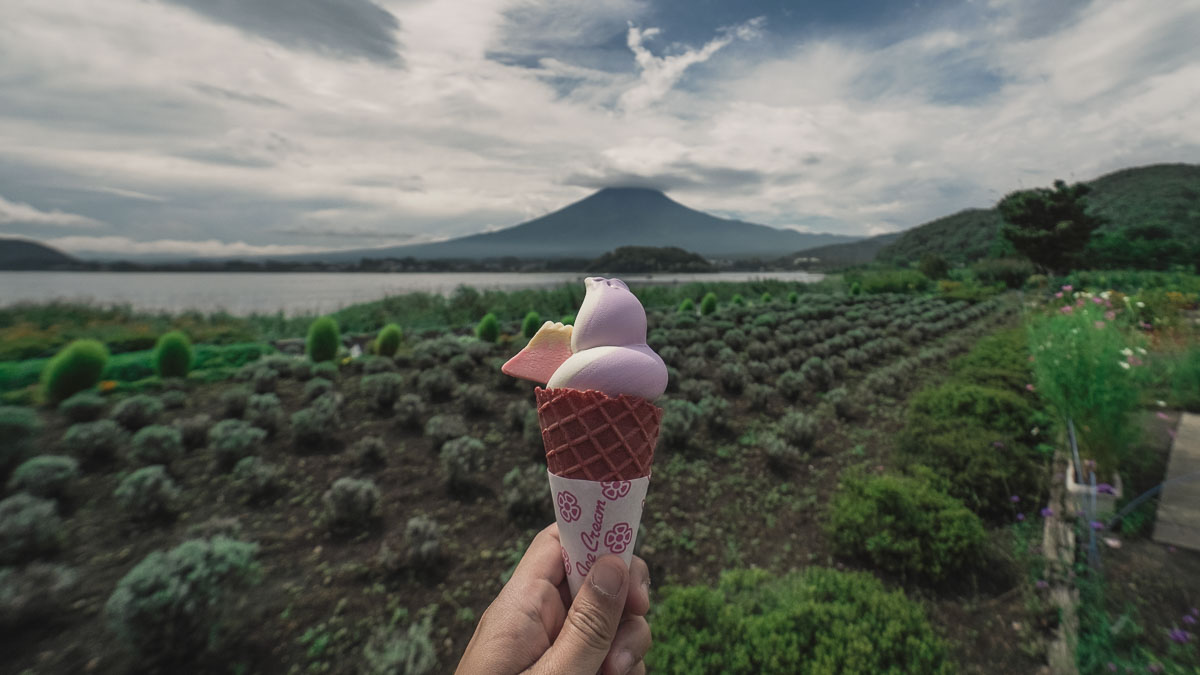
Other than Mount Fuji, the area is famous for their five lakes — the Kawaguchiko, Saiko, Yamanakako, Shojiko and Motosuko lakes. They’re all picturesque viewpoints from which you can see Mount Fuji clearly from afar. Lake Kawaguchiko is the most accessible, with the most attractions catered to travellers.
When you’re at Lake Kawaguchiko, be sure to get the famous Blueberry Softserve (¥500) at the Natural Living Centre while taking in the views of Mount Fuji. Back at sea level, we could hardly believe we were all the way up there just the day before. If you’re back at Kawaguchiko station, try out the traditional Houtou noodles at Houtou Foudou.
Natural Living Centre
Opening Hours: 9AM – 6PM
Address: Kawaguchiko Natural Living Centre — 2585 Oishi, Fujikawaguchiko-machi, Minamitsuru-gun 401-0305, Yamanashi Prefecture
How to get there: You can get to Lake Kawaguchiko easily by public transport. The other lakes are less developed and accessible only by car.
3) Climb up 396 steps at Arakurayama Sengen Park
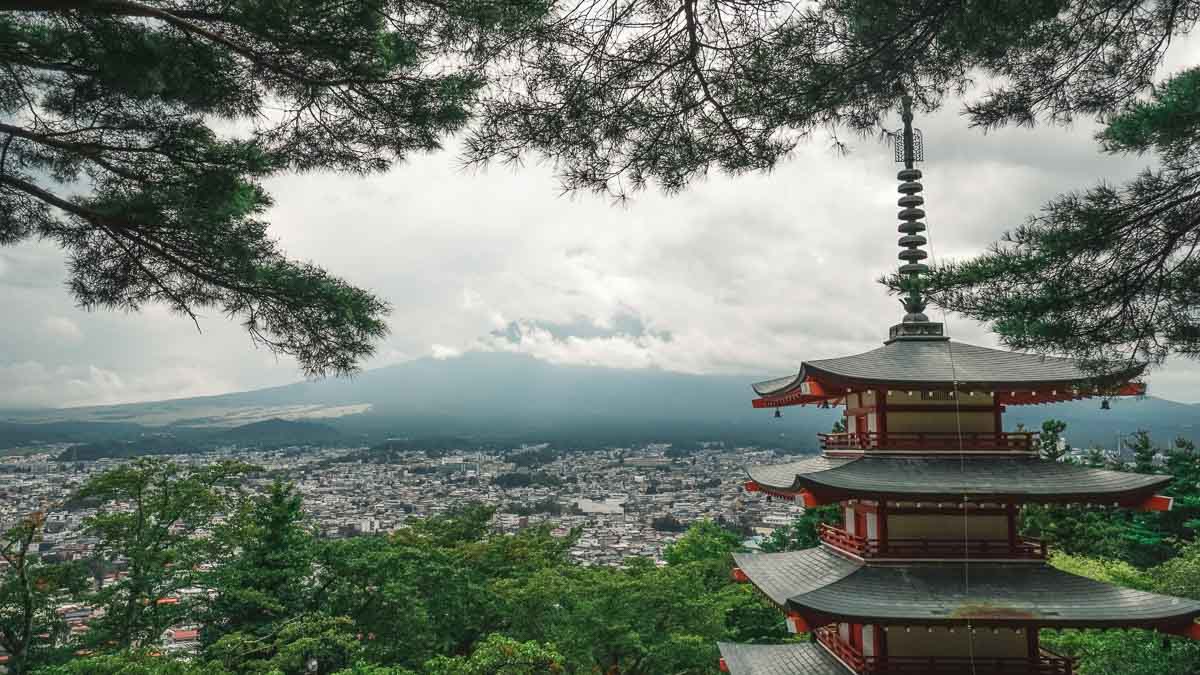
396 steps should be no trouble if you’ve just conquered Mount Fuji — especially if there’s the Chureito Pagoda and a majestic view of the mountain waiting for you at the top. You get to see the whole Fuji-shi City from the vantage point as well.
Address: 3353-1 Arakura, Fujiyoshida, Yamanashi Prefecture 403-0011, Japan
How to get there: Driving is the easiest option. By train, it’s a 10-min walk from Shimo-Yoshida Station on the Fujikyu Railway Line (35-min ride, ¥960 from Otsuki / ¥300 from Kawaguchiko). You can also take the Mount Fuji World Heritage Loop Bus, which offers discounts when you cover more attractions.
4) Demystify the Aokigahara Suicide Forest
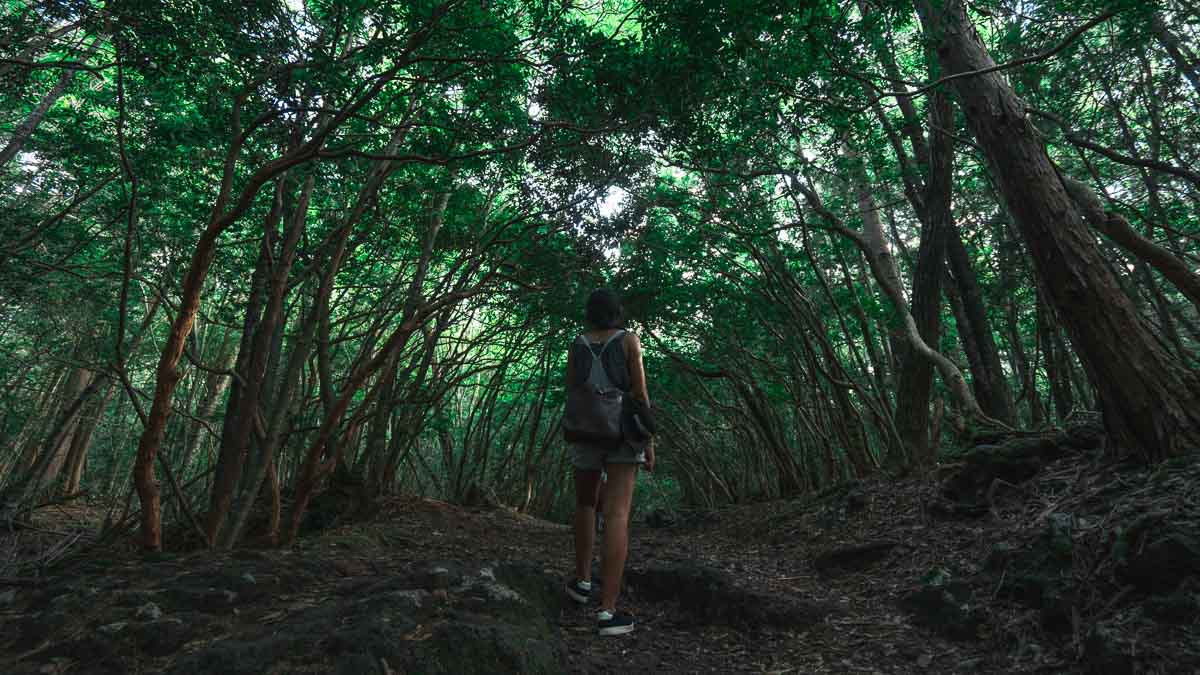
The Aokigahara Forest is infamous for its spine-chilling tales of suicide. However, after visiting the site ourselves, we found out there’s more to it than the rumours have established.
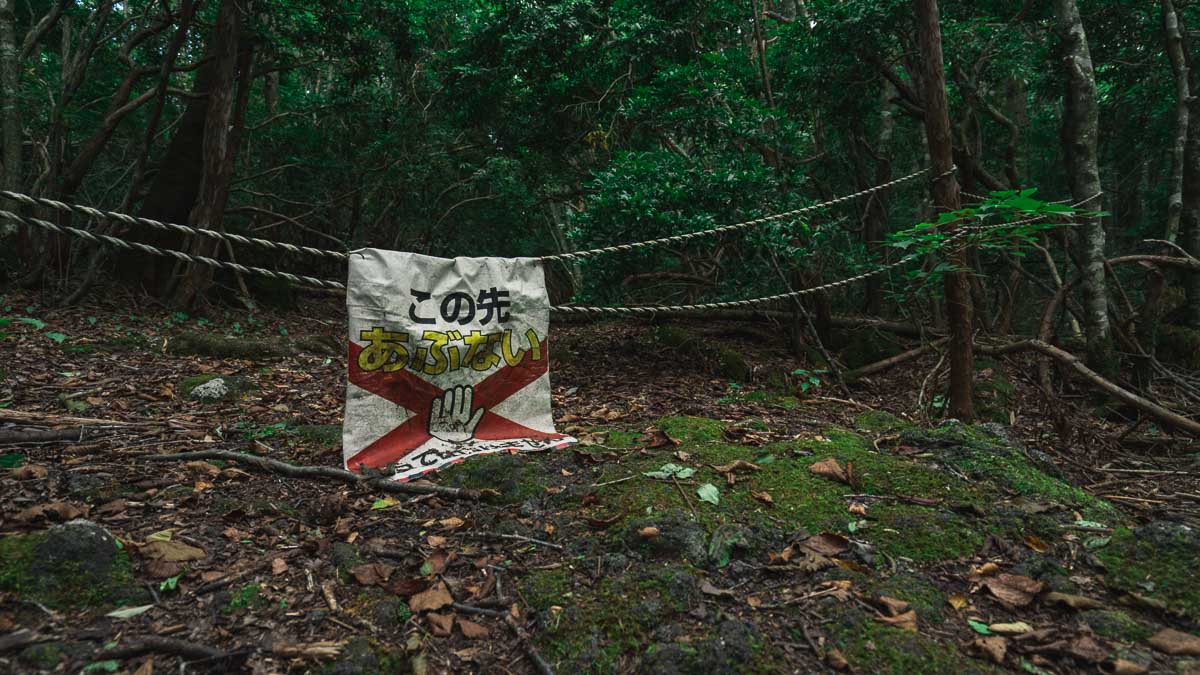
We’ve stumbled upon signs of warning to redirect us from walking into restricted areas — and we can’t help but wonder why those paths are blocked off. The mystery of the dense forest is something tourists would always be captivated by, sadly encouraging the dark tourism the Aokigahara forest faces even today.
Besides that, we’re here to break the news that the forest is not as creepy as the internet paints it out to be! In fact, it’s really beautiful, with bright green canopies arching across and a well-marked dirt path for walking. You can hear the occasional chirping of birds and feel a peaceful, undisrupted silence in the area.
Entrance Fee: Free. ¥300 for Bat Cave, ¥350 for Ice Cave and Wind Cave. These are attractions around the forest area.
How to get there: There isn’t an official entrance to the forest, but a good starting point would be the Saiko Bat Cave. You can drive there on the Chuo or Tomei expressway or take a bus from Kawaguchiko station. If you take the walking path for the Bat Cave and allocate enough time, you can walk to Lake Saiko for undisturbed views of Mount Fuji.
5) Scream on record-breaking rides at Fuji-Q
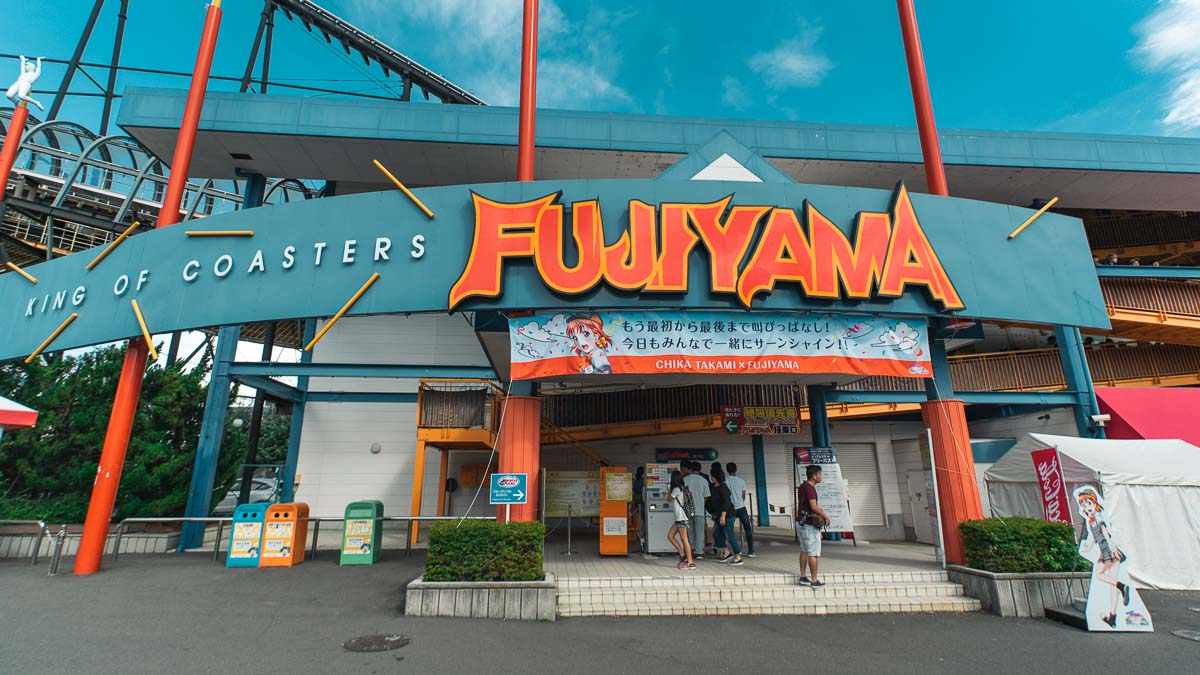
Adrenaline junkies, rejoice at Fuji-Q, one of the theme parks in the world with the most number of record-breaking rides in the Guinness World Records.
Get on the Takabisha, a rollercoaster with the word’s steepest drop at 121 degrees. Or if vertigo isn’t your thing, Dodondopa, a coaster with the world’s fastest acceleration. Of course, don’t miss out on Fujiyama, which used to be the world’s tallest and fastest rollercoaster when it opened in 1996 — a true classic.
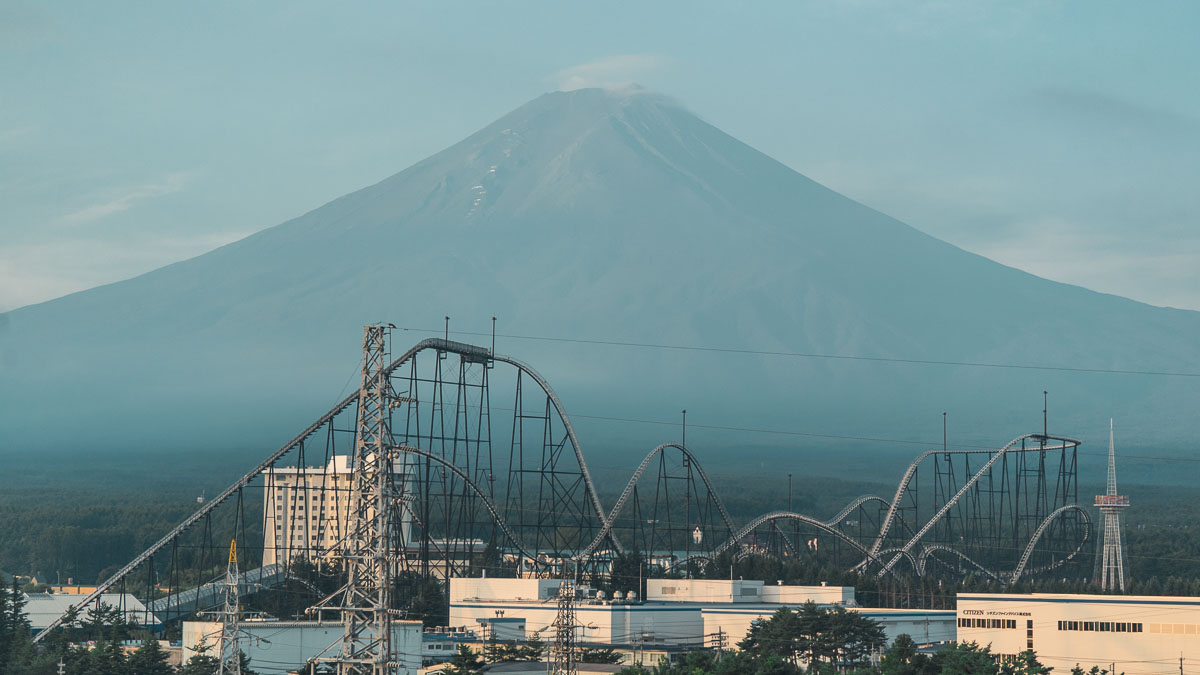
Fuji-Q is situated at the foot of Mount Fuji, which promises the best views while you’re on top of that rollercoaster ride.
An attraction not to be missed is the Super Scary Labyrinth of Fear (¥1000/pax), a horror house that spans 4 storeys with an escape room concept. A good measure of how epic the set-up was? Even the most fearless of us ran for his life at certain points of the maze. Seriously!
Cost: ¥1000/pax
Opening Hours: 8:30AM – 8PM, 9AM – 7PM (Tue – Thu)
Address: 5 Chome-6-1 Shinnishihara, Fujiyoshida, Yamanashi Prefecture 403-0017, Japan. There are buses that get you straight to Fuji-Q.
*Pro-tip: Join the queue at the entrance of Fuji-Q 30 mins before it opens to beat the long lines. Fuji-Q is a favourite among tourists and locals alike, so head to the more popular rides first!
6) Unleash your skills at the Oshino Ninja Village
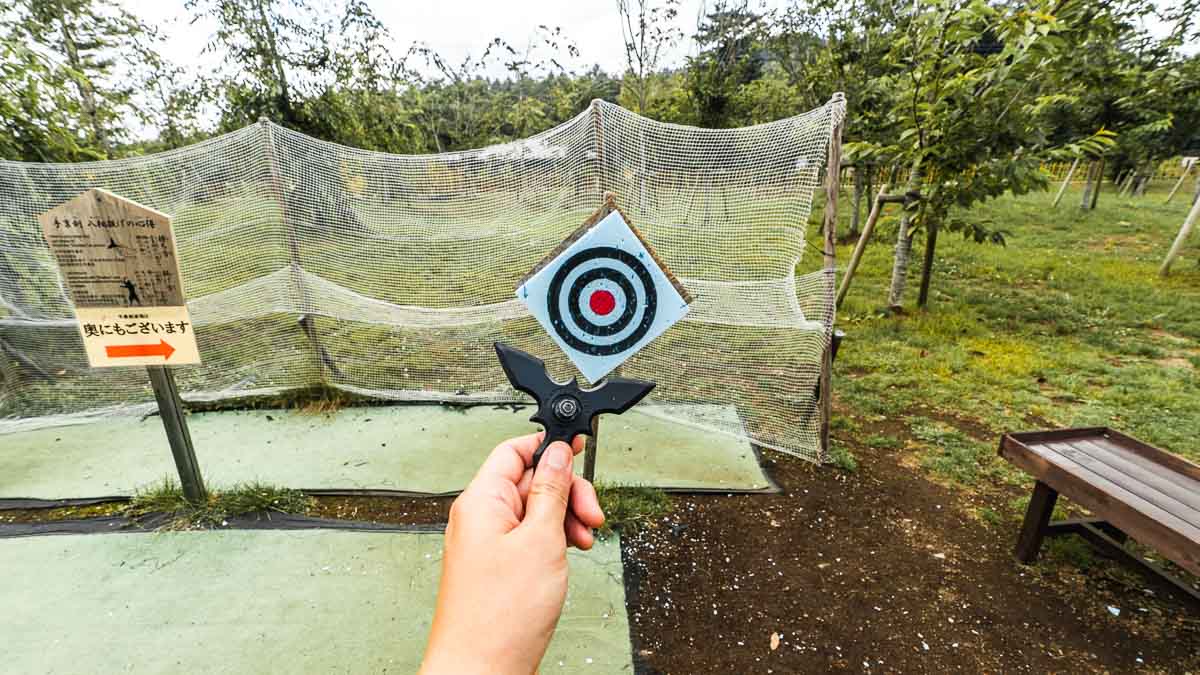
Be a ninja for a day at the Oshino Ninja Village, where you can experience their way of life. Learn how to throw a shuriken (ninja star, pictured above), or go for a free escape room game as you find your way out through secret tunnels and passageways. End off your time here at a Ninja Show, where stunt actors fight in true ninja fashion.
For ¥500, you can even rent a ninja costume in full gear and wander around the park! Talk about a fully immersive experience.
Entrance Fee: ¥1300
Opening Hours: 8AM – 5PM, 9AM – 5PM or 9:30AM – 5PM depending on sales calendar (check online before going)
Address: Yubinbango 401-0511, Yamanashi Prefecture Minamitsuru-gun, Oshino-mura, Shinobugusa 2845
How to get there: Take a bus there from the Kawaguchiko station to the Oshino Shinobi-no-sato station (18 min).
Note: If you stay at the HOTEL MYSTAYS Fuji Onsen Resort, there’s a bus stop right outside (Akasaka bus stop). You’ll need to flag down the bus. You can ask the friendly MYSTAYS concierge for maps and bus timing schedules.
7) Go on a DIY food tour tasting famous Japanese cuisine
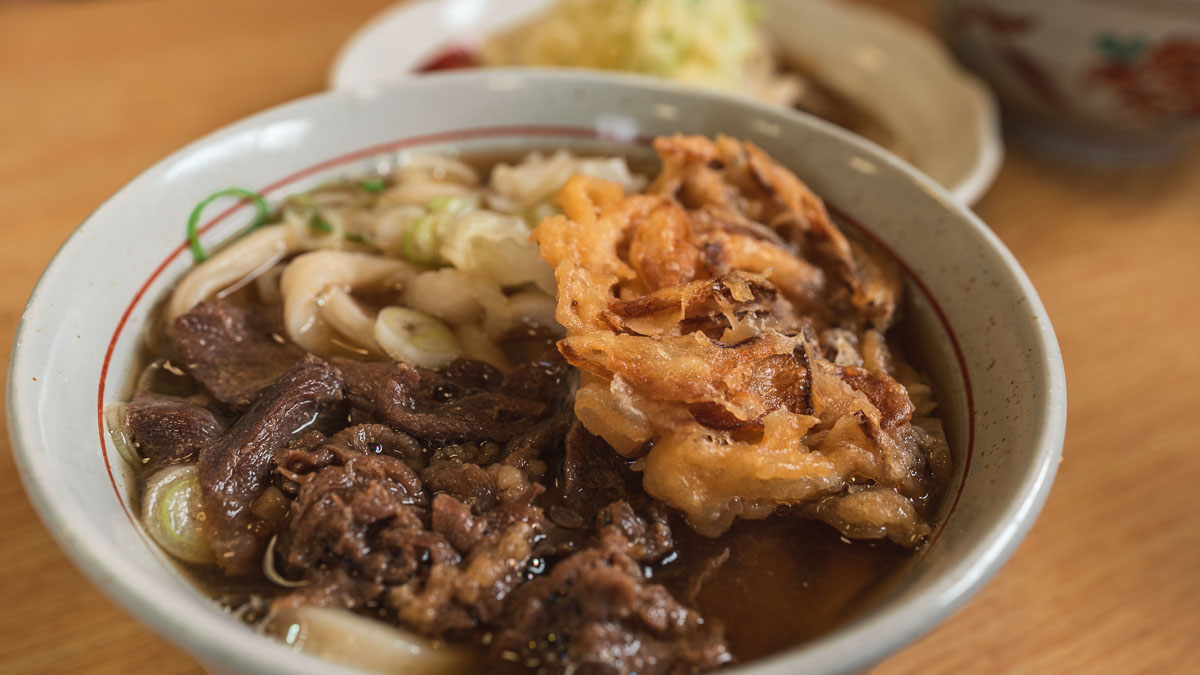
Reward yourself post-hike in the most Singaporean way by indulging in the local Japanese cuisine. Try out the Mount Fuji speciality — Hoto Fudo noodles served warm and comforting in a thick miso broth. This is located next to Kawaguchiko Station, which makes for a convenient meal before beginning your exploration.
Another specialty that’s highly visited and praised by the locals is Miyaki, for Yoshida Udon. Here, you can savour handmade noodles doused in freshwater straight from Mount Fuji that’s paired with chicken/beef/horse, and immersed in a mild broth made with bonito, kelp and dried sardines. All this in a bowl that sets you back only ~¥360! Be sure to start queuing a little before 11AM (closed Saturdays) to secure a spot! There’s no English menu, so you can either show them photos to order, or point at what others are eating.
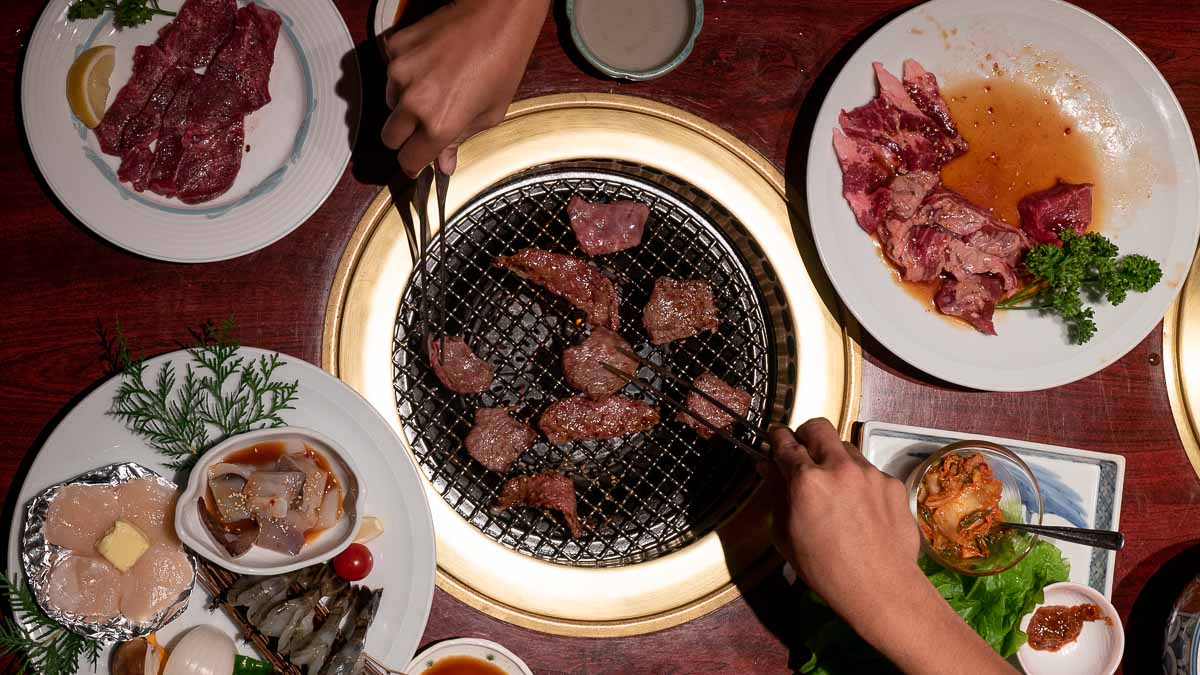
Treat yourself by heading over to the Tasugaoka Yakiniku Restaurant for a sumptuous meal of selected meats on a grill. It’s set in Hotel Fuji Tatsugaoka, which is only 10 mins by foot from Fujikyu Highland Station. We highly recommend coming here for dinner after your hike to kick back and relax.
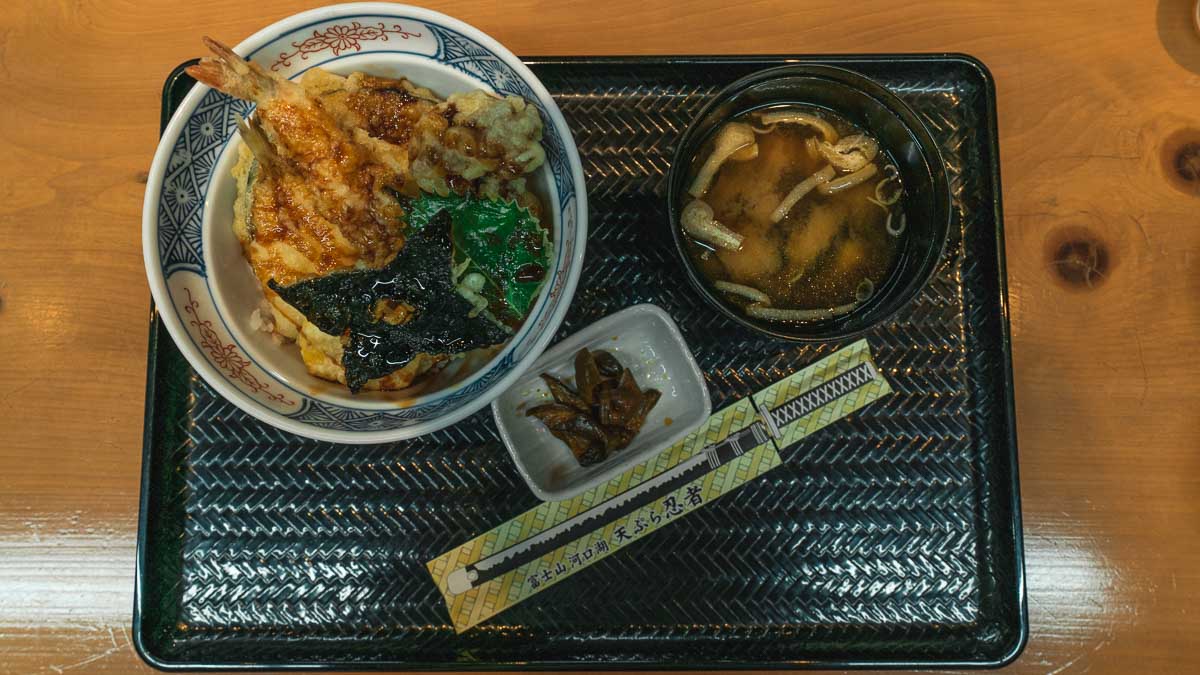
Continue your ninja adventures at Tempura Restaurant Ninja. Despite its unassuming shopfront, it serves up some of the most satisfying and value-for-money tempura we’ve had. For ~¥980/bowl, you get a great selection of tempura (pumpkin/prawn/sweet potato/squid/eel) with free-flow rice and miso soup in a set meal. Plus point: the food and cutlery are all ninja-themed!
Accommodation with a view of Mount Fuji/ in the Mount Fuji area
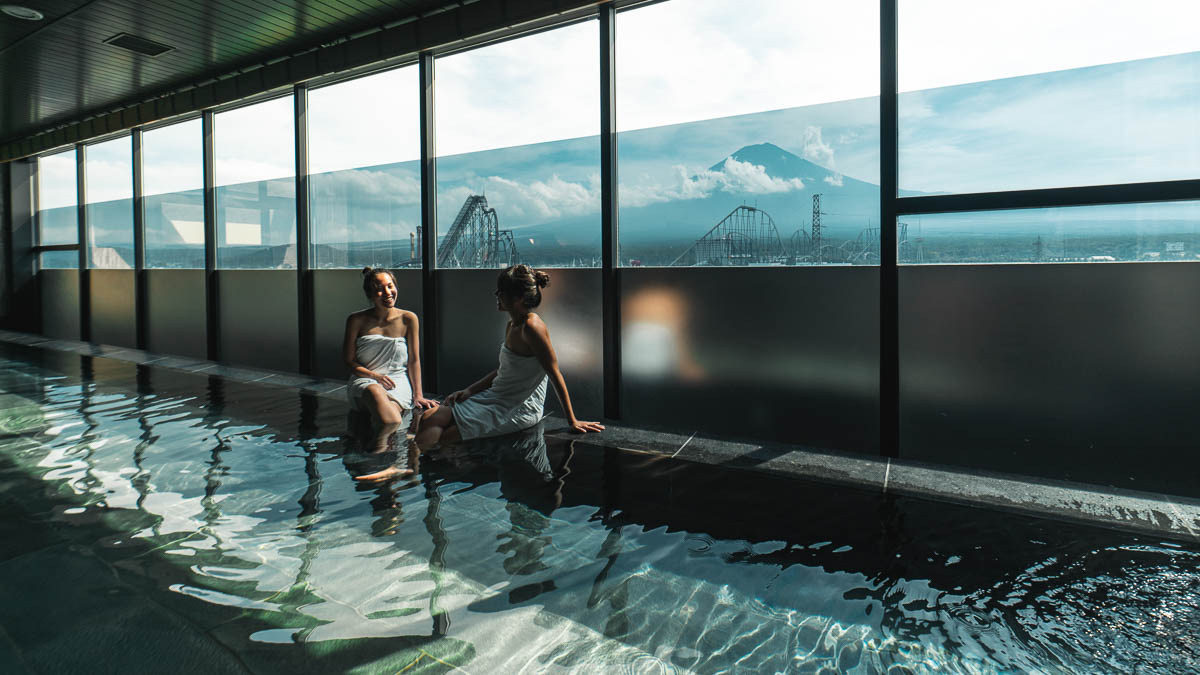
Booking your accommodation at HOTEL MYSTAYS Fuji Onsen Resort is a one-way ticket to easy accessibility and budget luxury.
It’s only a 5-min walk from Fujikyu Highland Station, and a short walk/bus ride to many Mount Fuji attractions and food destinations. It’s also near Kawaguchiko Station, which is a common starting point for many activities in and around Mount Fuji, including the hike up itself.
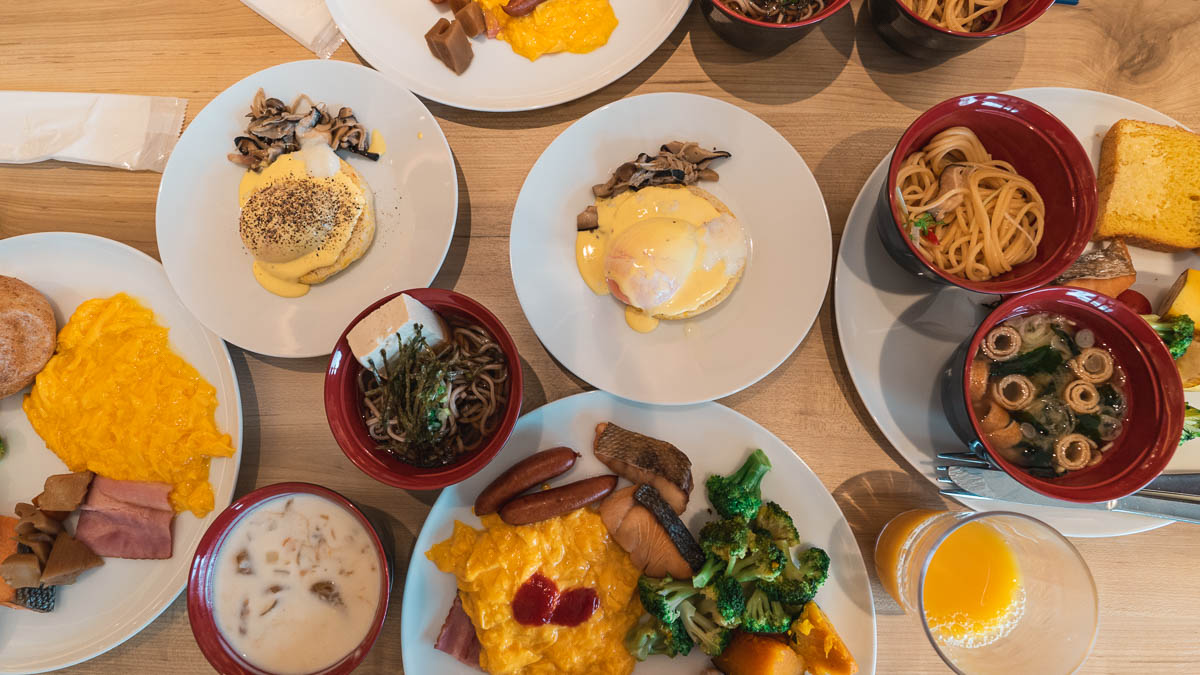
Staying here would also mean you get to enjoy the views of Mount Fuji, whether you’re soaking in the onsen or just relaxing in your room. Waking up to the sunrise with Mount Fuji in the backdrop at your window is really something else! Getting up early is also made worthwhile because the breakfast buffet is said to be one of the most highly acclaimed hotel breakfasts in Tokyo.
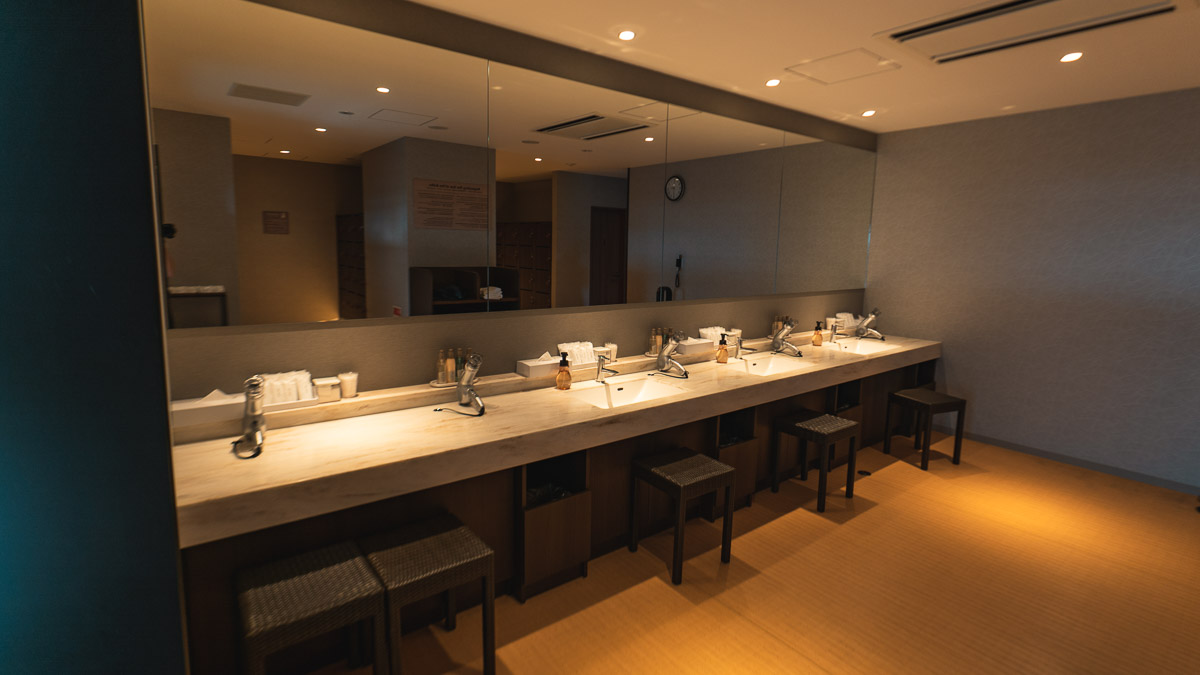
The service at this hotel is exceptional and you can expect to find a range of high-end toiletries for convenience and much-needed pampering. Think facial/moisturising cream and comfy PJs included to end your day with.
Staying at the HOTEL MYSTAYS Fuji Onsen Resort is an experience on its own. It’s always a relief to come home to a comfortable sanctuary after a long day of activities, especially if you’ve been on an overnight hike climbing Mount Fuji.
With 85 hotels in 25 cities all around Japan, HOTEL MYSTAYS Fuji Onsen Resort definitely offers quality accommodations that will surprise you with their unique features ranging from onsens with the perfect vantage of Mount Fuji to cosy cube-beds in a luxury-hostel environment.
We hope that this guide to climbing Mount Fuji has inspired you to take up the challenge of hiking in the great outdoors. Embark on a different kind of travel, and you’ll surprise yourself by what you can find and learn about yourself and this world.
This post is brought to you by HOTEL MYSTAYS.
View this post on Instagram







Hello, great post! May I know how long were the sticks, would want to get the long one but doesnt seem like it will fit in the luggage. Was wondering how did you guys bring it back?
Hey Olivia, there are sticks of different lengths! We simply checked it in and the airline wrapped it for us.
Hi! Is it really necessary to book a stay at the hut or are there places we could rest while we grab a meal?
Thank you!
Hi Jackson,
Yup you can have meals at the restaurants as well! We did meet people who did that however it’s more tiring and can get quite cold so we found the accommodation to be useful. The local Japanese recommend that as well!
Hey there!
You mentioned the time to start the hike would ideally be 4 – 5 pm. I guess if i were to start the hike at 3 pm, it would be ok as well?
I’ll be going from Tokyo to the 5th station directly.
Hi Shaun,
It really depends on your climbing pace, but more time means you have more time to rest!
Grt post !!
Whoever the lady that was carrying the Imperial Japanese flag while hiking. If you are not Japanese, may your grandparents have mercy and forgive you for being an absolute ignorant moron for not realising what the Imperial flag represents in World War II.